

The only thing better than taking a hike is taking a hike with your dog.
Dogs truly do make the best adventure buddies. They’re energetic, curious and, well, adorable to look at. But training your dog to go hike and adventure with you? That’s the tricky part!
Dogs have minds and personalities of their own. If you have a dog you know this, and you also know that they 100% have the ability to “pretend not to hear you” or just outright ignore you. This can make training frustrating (or funny, depending on how you look at it) but if you do it right it can actually be a pretty rewarding experience and a lot less difficult than you probably imagined!
NOTE: Keep in mind, there is no such thing as a “bad” or “untrainable” dog. Some dogs require more time and mental-enrichment than others, but every dog lives by basically the same set of rules. Every dog has the “pack” mentality, which means they can all be trained to hike with their owners. Some breeds just may be easier to train than others.
Hiking is great exercise for both you and your pet, and it also doubles as mental exercise for your furry pal. All of the new sights, smells and sounds keep his or her mind occupied and it’s also a great opportunity to reinforce their recall and other good training habits! There really is no downside.
Side Note: I’d like to point out that this was my first “dog” post on the blog [it’s since been updated], and it served as Tuna’s official debut. We adopted him about a year and a half ago and have gone on many adventures since. He’s legit the best dog in the world. Hobbies include: Fetch (obviously), Rolling in dirt and muddy puddles, Swimming in circles until eternity, Laying down and thumping his tail (loudly) against the floor until someone pets him, Dunking his full head under water to retrieve sticks and sometimes rocks, Being generally adorable and making everyone fall in love with him.
THIS POST WILL CONTAIN TWO SECTIONS
- Tips to Train Your Dog to Hike With You
- Essential and / or Helpful Gear for Hiking with Dogs
AFFILIATE LINK DISCLOSURE: This post contains affiliate links. Anything you purchase using one of my links earns me a small monetary kickback at NO extra cost to you. Of course I only link to products that I believe to be useful and good quality. If you want more information on affiliate links and why I use them, click here.

HOW TO TRAIN YOUR DOG TO HIKE: STEP-BY-STEP TIPS
Step 1. Before You Hike with Your Dog, FORM A BOND
Probably the most important step in the process is making sure your dog considers you his “pack”. If you just added your fur baby to the family, you should spend some time letting them settle in and get used to you before taking them out into unfamiliar environments. If you jump the gun, your dog isn’t likely to respect or listen to you. You don’t know his life!
Step 2. Teach the Basics
Begin by teaching your dog basic commands inside your house, with no distractions. I found the following commands to be the most beneficial on a hike:
- COME. Your dog needs to have good recall on the trails if you’re going to go off-leash. My top tip for training a dog to come is to ALWAYS keep it positive. Even if your dog escapes and runs away from you (which is enough to make anyone stressed and angry) always reward him when he returns. If you yell at him, he’ll associate coming back to you with punishment. If you’ve already ruined the “come” command for your dog, pick a different recall word like “here” or “return”.
- LET’S GO. This is essentially the same as “come”, but I use it when he falls behind on the trail. Normally, I say “Let’s Go!” when something fun is about to happen (ex. We’re about to switch from walking to running or we’re headed for the dog park). Because of this, “Let’s go” is actually more effective than “Come” when it comes to my dog.
- WAIT. I found this command to be the easiest to teach. Every time I took Tuna on a walk, I’d say “wait” as I opened the door and slowly let the leash loosen. If he started to go before I said “okay”, I’d close the door. I kept repeating this until he would wait with the door fully open and the leash loose. Another way to teach this is to use food – if they try to eat before you gave the “okay”, pick the bowl back up. Wait is a useful command when letting other hikers and bikers pass, trying to get your dog to stop and wait up the trail, or getting your dog to stay in the car while you get everything ready for your hike.
- LEAVE IT. Dogs will get into a lot of nasty things. Teach your dog to “leave it” by putting treats in both hands. Show your dog the less-enticing treat and say “Leave it”. When he goes for the treat, close your hand and try again. When he stops trying to eat it, praise him and offer him the better treat. Once he nails this, try putting it on the floor (if he tries to go for it, cover it with your foot). After that becomes easy for him, try laying a trail of treats on the floor and walking him past them, on-leash. Say “leave it” for each one and pull him away if he tries to go for them. Reward him with something extra tasty at the end! Make sure to practice this command on your daily walks, too.

Step 3. Know Your Breed
Some dogs are just naturally better at sticking close to their owners. Retrievers and herding dogs are generally good at returning during hikes. Australian Shepherds, Labradors, Golden Retrievers, Border Collies and German Shepherds are all good choices – but there are some more surprising breeds. Jack Russell Terriers, Poodles, and Dobermans make great hiking dogs, too
NOTE: If you have an especially independent breed, don’t give up! You’ll just need to work a little harder. A lot of independent breeds are also incredibly intelligent. You can still train your dog to hike off-leash with you if you’re determined enough.
Step 4. Test your Dog’s Recall in a Safe Place
It’s always a good idea to start in the safest, most distraction-free environment possible. Typically that place is inside your home – where your dog is most comfortable. From there, you can move on to your backyard and after that, I would recommend trying the dog park!
Dog parks are a great “final testing ground” for recall before heading out to the trails. It’s a new environment with multiple distractions and it’s fenced in – so worst case scenario your dog won’t get far. Bring some treats with you and see if he’ll come back to you every 5 minutes or so. If your dog can ignore all the other dogs just to come back to you, that’s a great sign!
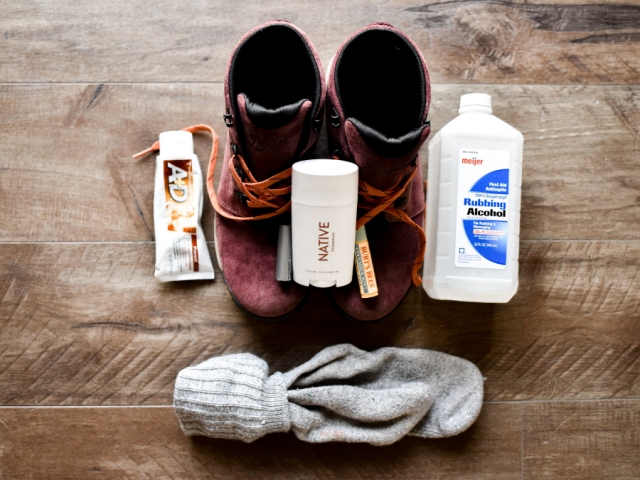
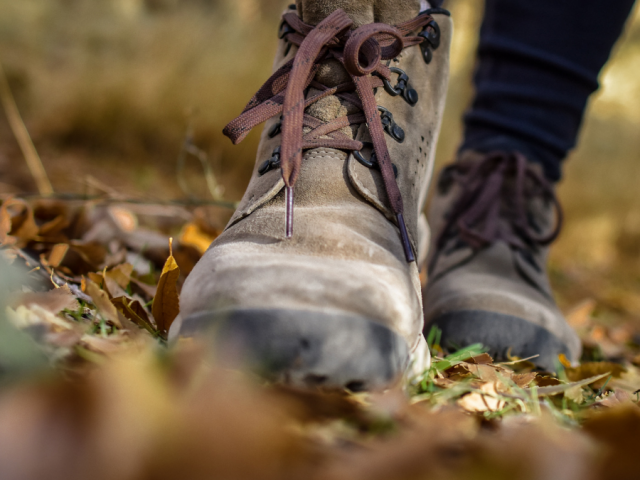
Step 5. Get the Right Hiking Gear
I’ll go further into this in the next section, but the basics are:
- A good, durable harness. Harnesses a little bit more handy than collars for a quick leash-up when hiking.
- A proper leash. Even for off-leash trails, you need a leash handy.
- Flea + Tick Spray. To protect your dog from disease.
- Collapsible dog bowl. Unless you want to share your water bottle. I’m not ashamed to admit that I’ve done that once or twice out of necessity.
- Plenty of water!!! This is super important! Not all trails will have a water source for your dog.
6. Start Small
For your first few hikes:
- Choose secluded areas that are less trafficked and far away from roadways
- Don’t choose any trails that are near protected wildlife areas
- Make sure the trail you choose is definitely off-leash friendly
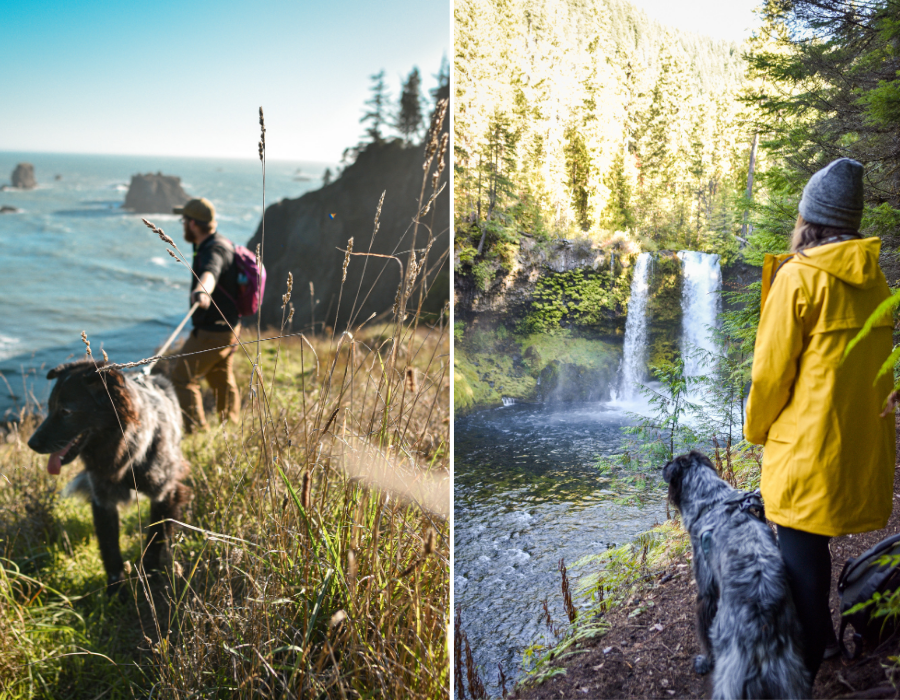
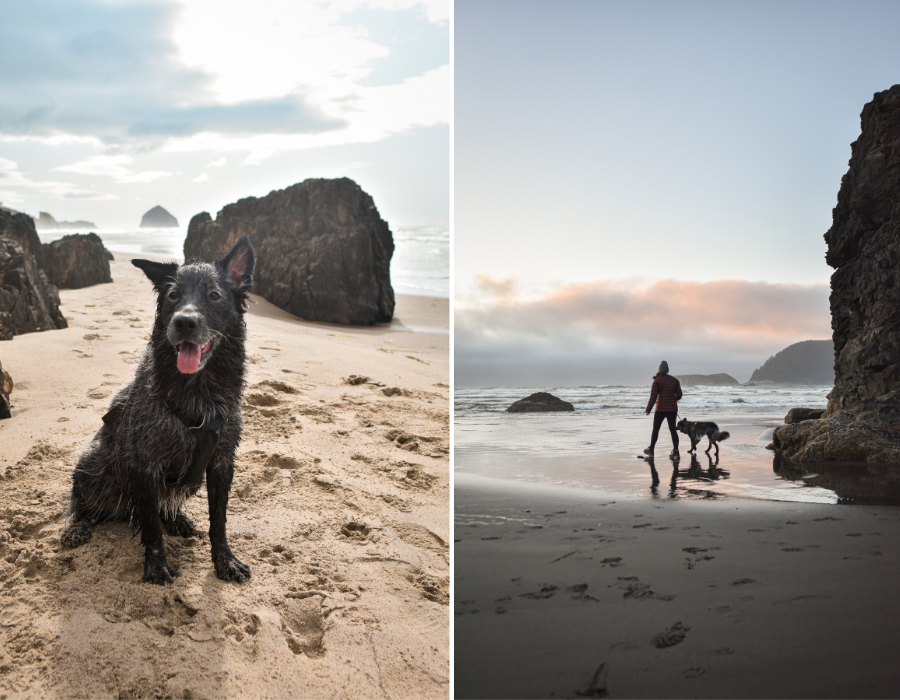
Another important consideration: Make sure the trail doesn’t have any steep drop offs. Most dogs know not to go over cliffs, but it’s not worth the risk. We started with flat trails and slowly added steeper terrain once we knew how Tuna would react to it. On trails with very steep drop-offs (as shown above) we still keep him on-leash, especially when there’s something enticing at the bottom (which for Tuna, is water). It’s up to you to know, or get to know, your dog.
If there is any doubt as to what you might encounter on a trail, I would recommend trying trails out by yourself (to make sure there are no dangerous portions) before bringing your hiking dog along OR just keeping your pup on leash.
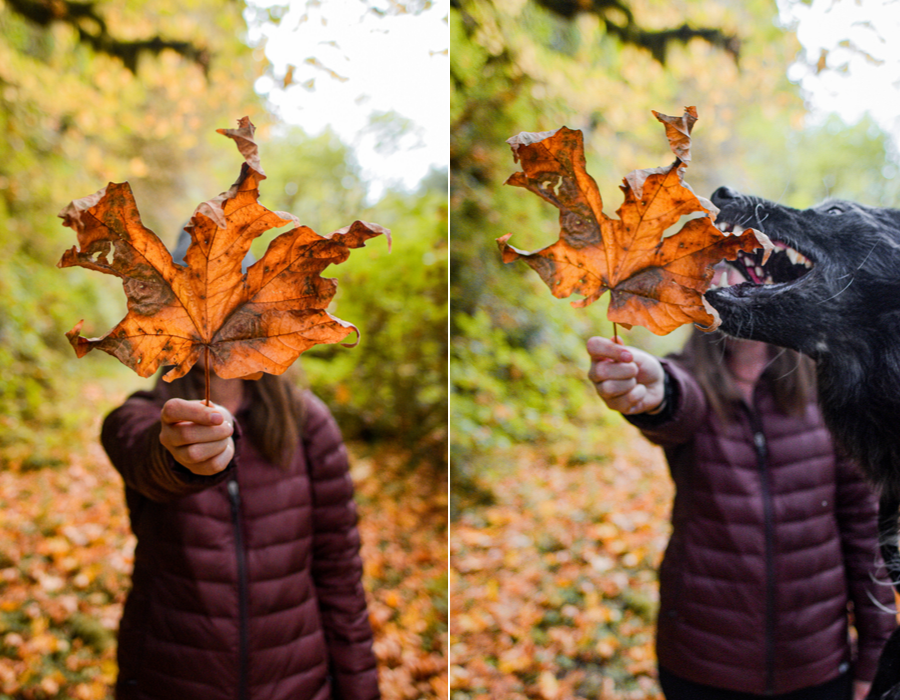
7. Know that No Recall is Perfect
Before hitting the trail with your dog, be prepared for the worst. Even the best-behaved dog can have an ornery day. In the 2nd photo above, we let Tuna off the leash and he went absolutely crazy. He was running around, jumping on us, biting everything, and he wouldn’t listen to any commands. So weird.
Anyway, the Moral of the Story: Stay alert and never take your eyes off your dog during a hike – especially the first few. Also, be sure to have a back-up plan for those times when your dog appears to have totally lost it. Which brings me to my next point.
8. Find Your Dog’s Kryptonite
What will your dog drop anything for? Is it cheese? Peanut butter? A favorite toy?
Whatever it is, bring it! Heck, bring a salmon fillet if you have to. You want to make sure your first hike with your dog doesn’t go terribly. And in case your dog suddenly doesn’t respond to “come” when you let him off leash, you want something that he WILL, without a doubt, respond to.
For Tuna, it’s his squeaky, red ball. It is especially useful since he can hear it from a mile away. The red ball is a guaranteed return.
9. Keep Calm
Say you decide you’re ready to test your dog on the trails and… he won’t come back. There’s that terrible, sickening feeling that you’ve just made the worst mistake of your life, that you’re the worst dog parent in the world, that you’ll find your dog’s remains in the forest somewhere.
Trust me, that WON’T happen.
But if you stay stressed out, the chances of your dog returning are even worse. I’ve had a lot of experience with runaway dogs – I’ve gone through like 10 leashes because they all keep failing and coming unclasped (You had ONE job, leash!) – and the one thing I’ve noticed is that the more I freak out, the less likely Tuna is to come back. There’s something about the panicked, screechy sound of my voice that scares him (weird, right?).
So what do I do? I run away from HIM. It sounds stupid, but this works for me every time and I know it works for a lot of other dog owners, too. Get his attention by calling him in an upbeat, positive tone and just run in the opposite direction. If nothing else works (the ball, the treats, the recall), this is my go to. You will have to be prepared to look like an idiot to anyone watching, but that’s like 80% of being a dog parent anyway.
10. Always, always reward
Remember, the training is never over. You need to keep up on it.
Even after your little fluff ball is a seasoned hiking dog, be sure to continue rewarding him for returning to you or stopping to wait for you or walking past that dead mouse you told him to leave alone. Rewards can be either food or affection, or both! Whatever your dog responds most to.

ESSENTIAL + HELPFUL HIKING GEAR FOR YOUR DOG
Essentials
HARNESS OR COLLAR
While I will never on-leash walk Tuna with a harness anymore (I’ve done my back a huge disservice by doing that the first couple years) I definitely recommend a harness over a collar for hiking. There’s a lot more surface area to grab and the D-ring is right on top so it’s much easier to quickly leash up your dog if needed. We used to use the Ruffwear Flagline harness [pictured above] exclusively, but we’ve since switched to the Front Range Harness which has a little bit more padding. Ruffwear has plenty of harness options though – some with handles, some with zip pockets, and some made for buckling your dog into the car.
I honestly can’t say enough good things about Ruffwear and I would never recommend any other company for dog gear. Tuna snapped several leashes and collars over the first couple months that we had him [yes, he pulls THAT hard] so we decided to spend a little extra and try out Ruffwear’s harnesses and leashes. I would literally never buy anything else! Their stuff is so durable and it’s worth a little extra money for a product that lasts a lifetime.
LEASH
If your dog has a tendency to slip his leashes, I definitely recommend this “locking” leash from Ruffwear! It looks super intense, I know, but it is literally the only leash Tuna hasn’t been able to either break or escape from. It’s made from tough, climbing-inspired rope and attaches to your dog’s collar or harness via a locking carabiner. The locking carabiner also proves useful for carrying, as you can either attach it to your pack or (in my case) close the loop and wear it like a Chewbacca shoulder strap.
FLEA + TICK SPRAY
This is essential in any area, but especially those with cases of Lyme disease. Ticks are annoying in general, but you definitely don’t want an expensive vet visit and/or a lifelong illness for your pet. We use this flea + tick spray from Amazon! It’s more natural than some other sprays and super easy to use! Just spray your dog pre – hike and fluff it into his fur – you should spray your dog all over, but make sure to target the tick “hot spots” like behind the ears, the paws and the legs (especially the insides of the legs). Be careful not to get it near your dog’s eyes!
We have only found one tick on Tuna since we started using the spray, and we’re pretty sure it was because we forgot to reapply it post-swim. Oops!
COLLAPSIBLE BOWLS + LOTS OF WATER!
You’re also going to want enough water (for both you and your pup) as well as a collapsible dog bowl so your dog doesn’t get dehydrated during your hike. Collapsible bowls are super lightweight + packable, making it easy to bring along on even a quick hiking trip. I personally love this Trail Runner bowl because it scrunches up so small I can fit it in even the tiniest of pockets. It doesn’t have a firm base, but I haven’t ever had a problem using it for quick drink breaks.
POOP BAGS
Enough said.
Helpful Add-ons
DAY PACK [FOR DOGS!]
If you want your dog to carry their own gear (water bowls, poop bags, etc.) a day pack could be a good option for you! Not gonna lie, I kind of want one just because of how adorable they look.
TREAT POUCH
Treats are really nice to have on trail to keep your dog close and keep their attention focused on you. It also makes the hike an overall more positive experience for your dog in general, which will help you out in the future! I use this hip pouch from Ruffwear. I love the magnetic closure – it makes it so easy to open and close quickly (and one-handedly!).
SAFETY LIGHT
Chances are you’re probably doing a DAY hike with your dog, so why would you need a safety light? Well, hopefully you won’t need it, but in the off chance your dog gets separated from you or your hike somehow takes longer than you imagined – which happens to me, A LOT – a safety light can be a huge lifesaver.
If you’re in the market for a new one, this safety light is absolutely amazing! It’s rechargeable, waterproof, bright AF, and has 3 brightness/blinking settings and 3 color settings. It also clips to the top of Tuna’s harness, making it a lot more visible than a light-up collar! For dogs with thick fur, light-up collars can be super difficult to see.
PROTECTIVE BOOTIES
The need for dog booties mostly depends on the terrain of your hike. If you’re hiking in the snow, I definitely recommend them! Snow melts and refreezes between your dog’s paw pads and becomes painful for your dog – I unfortunately know this from experience. Other types of terrain that make booties necessary are: hot sand / dirt, sharp rock, and muddy / dirty trails (if you want to keep your vehicle clean afterwards!).