Capitol Reef… One of Utah’s Mighty 5
Despite the fact that this park is often described as “cute” on a good day and “disappointing” on a bad one, I was really excited to see it! And 100% truthfully, it did not disappoint. The best part? I was able to see ALL the highlights of Capitol Reef in one, single day.
Yes, that’s right. I did that. So you can rest assured that it IS possible. And if I can do it, you can too! Especially considering I typically take an extra 40 minutes at each stop, getting photos.
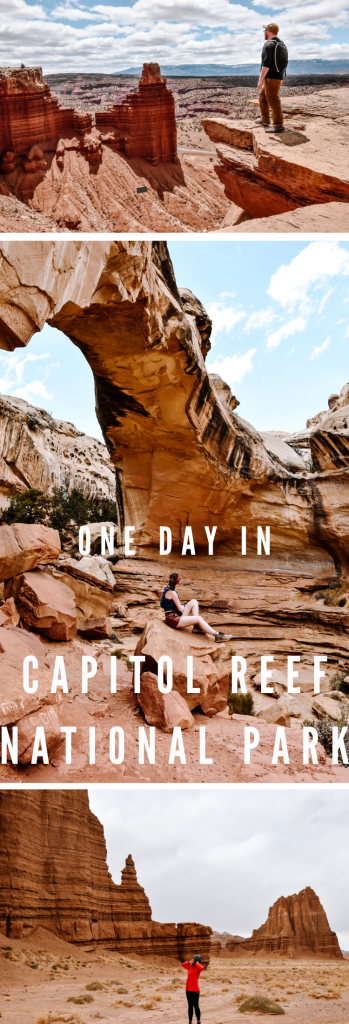
This one day Capitol Reef itinerary will take you to all the different areas of the park. You’ll see canyons, monoliths, natural bridges, petroglyphs, and more!
In this post we’ll cover:
- Frequently Asked Questions
- Things to Know Before Visiting
- The One Day Capitol Reef Itinerary
In total, this itinerary will require around 11 hours to complete – so it’ll be one, very full day! I recommend you start (i.e. get out the door) no later than 9am. Of course, this recommended time may change throughout the year due to differing sunset / sunrise times, but summer sunset is between 8 and 9, roughly.
If you have more than a day in Capitol Reef, I recommend throwing these trails in to the mix:
Cassidy Arch Trail 3.1 miles, 666 feet elevation gain, Moderate difficulty, Out & Back
Goosenecks & Sunset Point * (I listed this as an alternate for Temple of the Sun and Moon – in case you don’t have 4WD) 2.5 miles, 544 feet elevation gain, Easy, Out & Back
Cohab Canyon Trail 3.0 Miles, 793 feet elevation gain, Moderate, Out & Back
Frequently Asked Questions
Are dogs allowed in Capitol Reef National Park?
Yes and no. Dogs are allowed in campgrounds, picnic areas, unfenced / unlocked orchards, parking lots, on and near public roads, and on 2 small trails: One leading from the Visitor Center to the Fruita Campground as well as the Freemont River Trail (from the campground to the South end of Hattie’s Field – where the gate is).
How much does it cost to visit Capitol Reef National Park?
$20 per vehicle, $10 for bicycles / walk-ins, or free with an America the Beautiful Pass. Note that there is also an “Access Pass” that is free to those with disabilities.
Do I need a reservation to enter Capitol Reef?
No. Many U.S. National Parks are implementing a reservation system due to overcrowding issues, but this hasn’t been introduced at Capitol Reef (at this time).
How long do I really need in Capitol Reef?
One or two days. In my opinion, one full day is enough to hit most of the highlights. Capitol Reef is a relatively small park so unless you want to do A LOT of hiking or you’re planning on backpacking, one or two days should work just fine.
What town is closest to Capitol Reef National Park?
Torrey, Utah. This is likely where you’ll eat and book your hotel (if you need one). There are no gas stations or restaurants within the park, so this will be your go-to to get supplies or fuel.
Why is it called Capitol Reef?
Two reasons. Early settlers likened the white domes of Navajo Sandstone to the Capitol building in Washington D.C., so that’s where “Capitol” came from. The “Reef” portion of the name came from the 87-mile long ridge in the park (Waterpocket Fold) – prospector’s who visited the area compared it to a reef because it blocks transportation, similar to the way a large reef would prevent a ship from passing.


Things to Know Before You Go
Always check the weather AND any park alerts before your visit.
Many of these areas are prone to flooding, so it’s important to check it out! Also, it’ll help you properly pack for your trip.
You can check the weather, alerts and current park conditions, here. It’s important to scroll through the alerts, because parks often experience closures for a variety of reasons.
There is no cell service in Capitol Reef National Park limits
The closest cell signal will be in Torrey, Utah (West of the park), or you can get free WiFi at the Visitor Center.
There are no gas stations or restaurants within the park
Torrey, Utah is your closest “oasis”, so to speak, where you can get fuel / food / hotels.
There is no fee station, but there is a fee to enter
Being that it’s a smaller park, there is no fee station set up. But officially, you have to purchase a park pass to enter. If you’re planning on visiting 3 or more National Parks this year, I’d recommend buying the America the Beautiful Pass (either at the Visitor Center or online prior to your trip). I visited 5 National Parks so far this year, which would have been $135 total in entrance fees – the pass is currently priced at $80. So I’m feelin’ thrifty.
Double check trail distances
Many of the trailheads list the ONE WAY distance (for some reason) instead of the total trail length.
Watch out for wildlife!
You should never approach ANY type of wildlife (just let them live, ya know?) but you’ll particularly want to watch for snakes and mountain lions. There is one type of venomous snake in the park, the Midget Faded Rattlesnake.
Pack a Lunch!
To avoid driving in and out of the park too much, I recommend packing a lunch and enjoying it in one of the shady picnic areas.
↓ CAPITOL REEF ONE DAY ITINERARY ↓
Stop 1. Torrey, Utah
Since most people book their stay in Torrey, we’ll start there and head East towards the park.
*OPTIONAL* Wake up early (pre-breakfast) for first light / sunrise and head to one of Capitol Reef’s popular sunrise viewpoints:
- Goosenecks Overlook
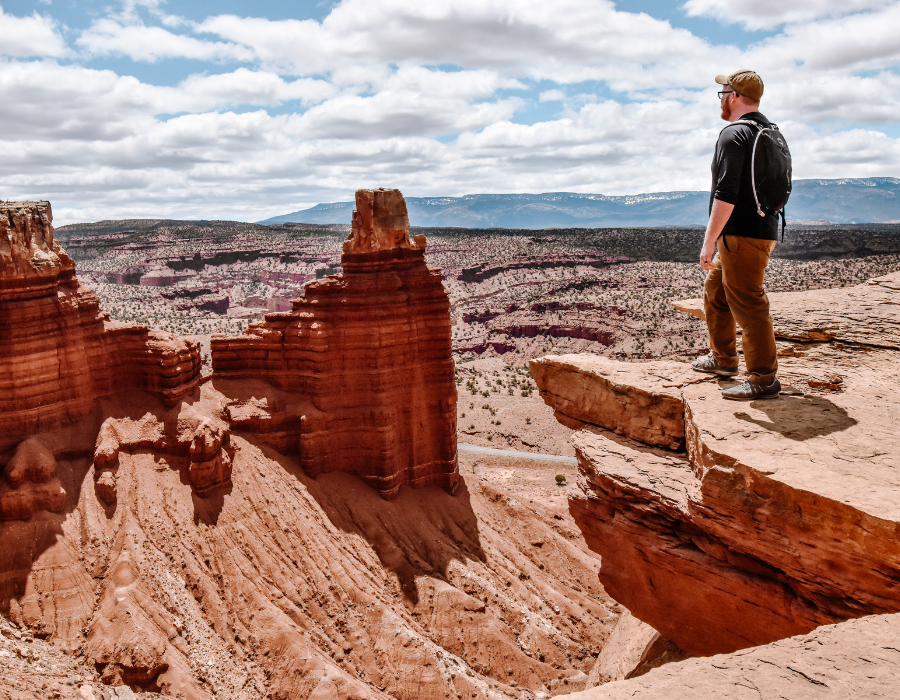
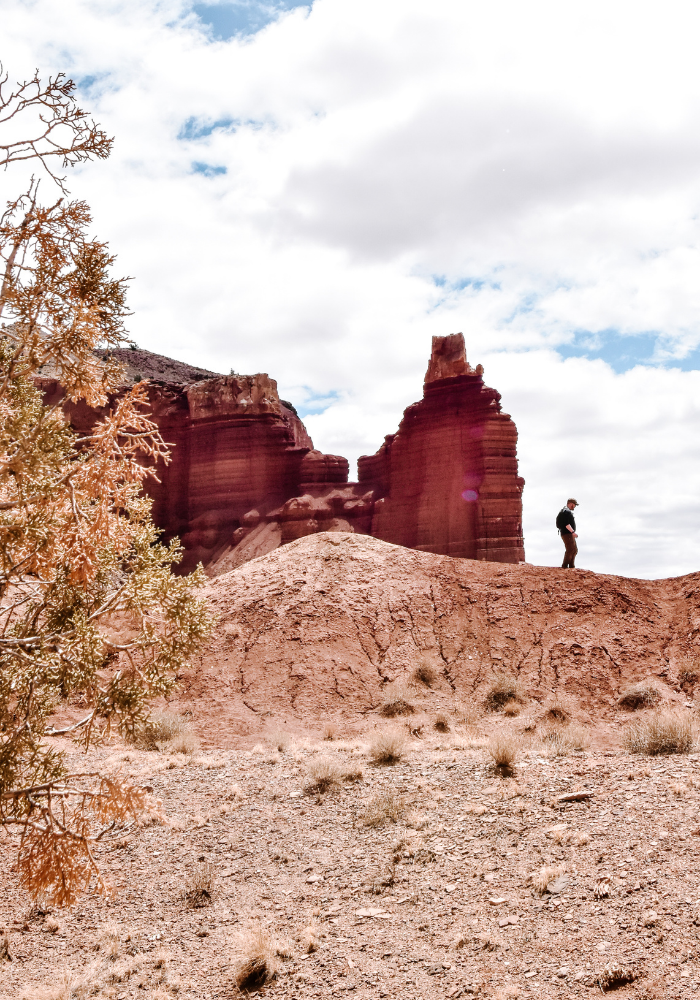
- Chimney Rock Trail
- Panorama Point
- Cohab Canyon
After your sunrise stop (if you opted for that) you’ll want to grab breakfast in Torrey. Take this opportunity to fuel up your car and pick up some snacks for the day!
If possible, I recommend grabbing breakfast at your hotel. Most restaurants in Torrey are only open for dinner (after 5pm), so breakfast options are a little more limited. But if you can’t get breakfast at your hotel (or you’re camping), here are a few options:
- Dark Sky Coffee: Coffee, Tea, Breakfast Burritos, Bagels, etc.
- Broken Spur Inn & Steakhouse: Breakfast Buffet for $9.95 (available to the public, not only guests)
- Wild Rabbit Cafe: Don’t quote me on this one – I haven’t been and their website is incomplete so I couldn’t scan the menu, but I know they have coffee so… educated guess, maybe they have breakfast, too?
Stop 2. Chimney Rock Trail
TOTAL DRIVE TIME: 11 MINS
TIME AT STOP: 2 HOURS
TOTAL TIME: 2 HOURS, 11 MINS
WHAT YOU’LL DO & SEE:
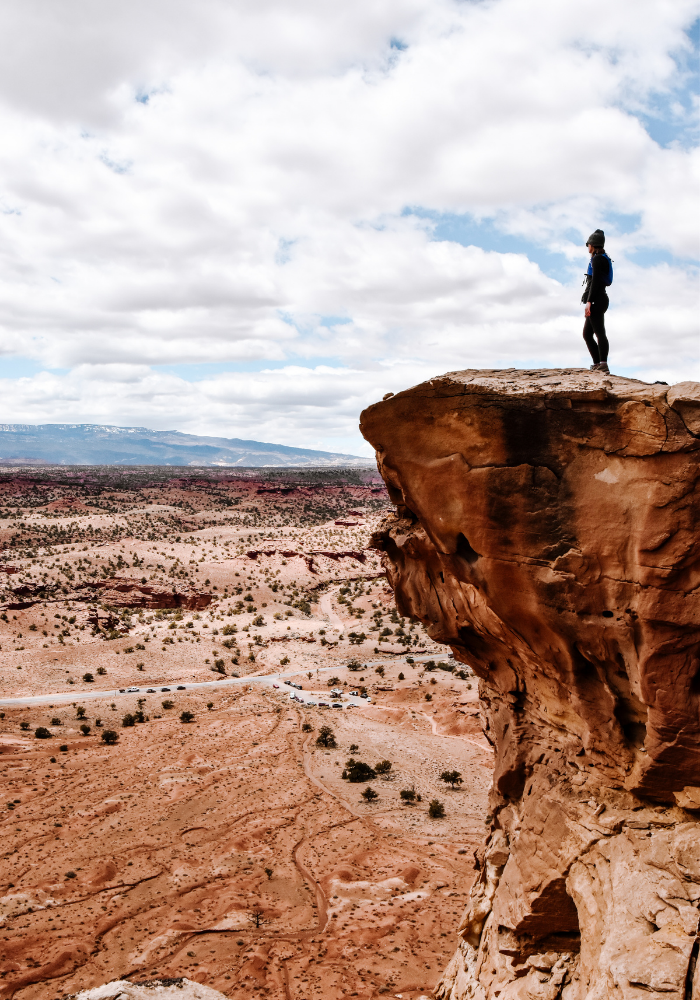
- Panoramic Views of the Waterpocket Fold
- Multiple Viewpoints of the Chimney Rock Formation
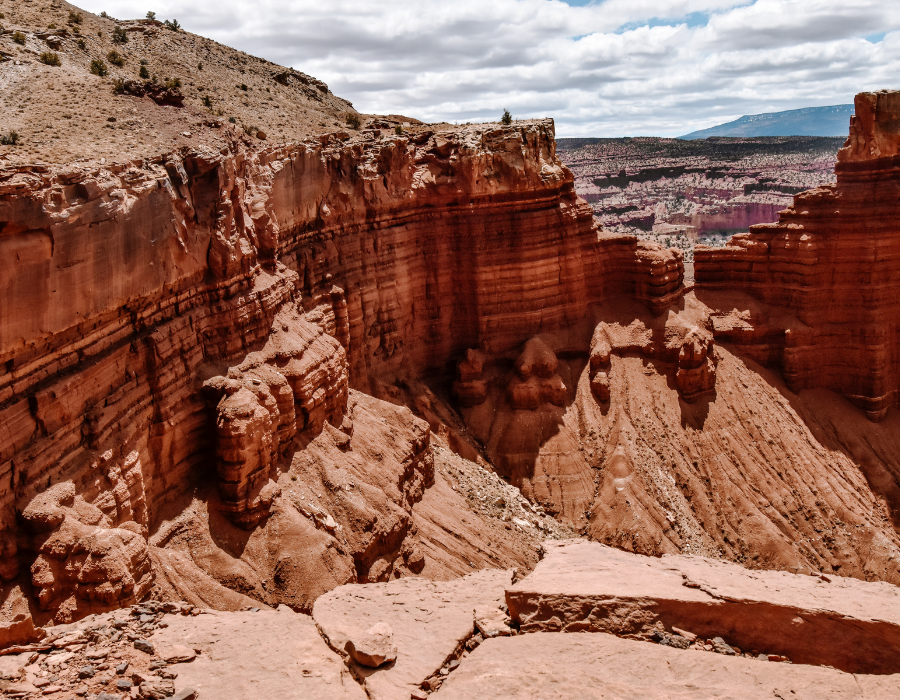
After fueling up your vehicle (and yourself) start the very short drive to Chimney Rock Trail. This trail is on the way from Torrey to the Visitor Center, so that’s why we’re stopping here first.
This trail is marked as moderate, which I’d say is fairly accurate. I took several breaks on the way up, but I just pretended to be looking at the views (pro tip!). There are several overlooks that are worth checking out on your way up to the top, and honestly about halfway up provides the best view of Chimney Rock. Once you get higher, you’re essentially looking down at the very top of the rock which looks less impressive in my opinion.
TRAIL INFO
Distance: 3.3 Mile
Elevation: 793 Feet
Difficulty: Moderate
Trail Type: Loop
Stop 3. The Visitor Center
TOTAL DRIVE TIME: 5 MINS
TIME AT STOP: 20 MINS
TOTAL TIME: 25 MINS
WHAT YOU’LL DO & SEE:
- Use the restroom
- Refill your water bottles / reservoirs
- Quickly walk through the exhibits
Stopping at the Visitor Center is always a must. You can get so much information about the park and surrounding land, plus there’s drinking water available, restrooms and WiFi. I recommend walking around the exhibits, at least for a little while, to soak up some information (and air conditioning).
They also have souvenirs, if that’s your thing! I normally don’t buy anything, but I purchased this cute kids book about bats for my future child in order to indoctrinate them with a love for bats. Completely unselfishly, of course.
Stop 4. Drive the Capitol Gorge Scenic Drive
TOTAL DRIVE TIME: 33 MINS FROM THE VISITOR CENTER TO THE END OF THE ROAD [CAPITOL GORGE TRAILHEAD]
TIME AT STOP: 0 MINS
TOTAL TIME: 33 MINS
WHAT YOU’LL DO & SEE:
- Check out the Slickrock Divide
- Drive Through Capitol Gorge
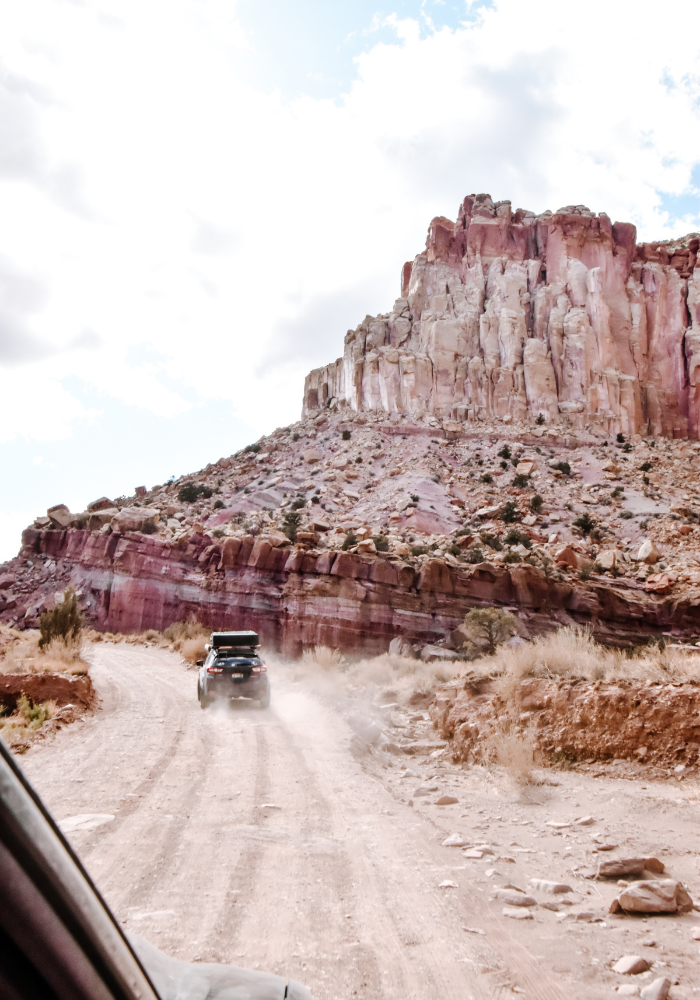
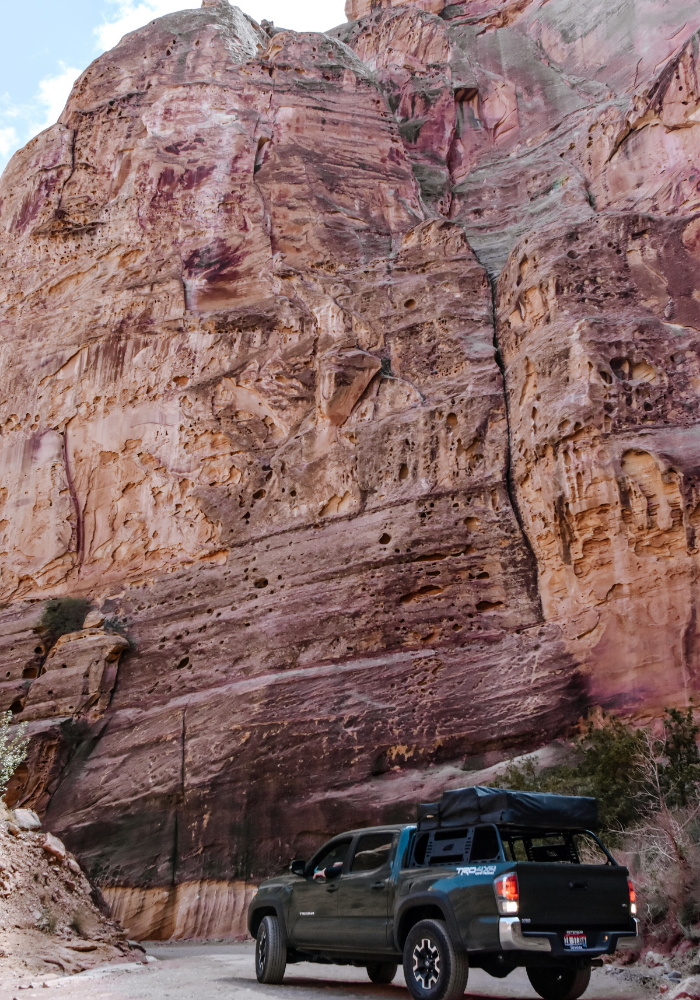
Time to check out a completely different section of the park. Capitol Gorge Scenic Road will take you to the South section of the park (there is much more to see even further South, but that area is mostly backcountry). Leaving from the Visitor Center, you’ll drive through the “green” area of the park where there are grassy / shady areas and orchards (which were planted by Mormon pioneers in 1880!).
Along the paved road, the scenery quickly shifts to a more desert-y landscape. Further along the drive, you’ll also find the notable Slickrock Divide.
Right around 8 miles, the paved road ends and it turns into a dirt / gravel road. You don’t really need 4WD or anything special to take this road, but it’s important to note in case you’re worried about scuffing up your vehicle. Follow this road until the very end and enjoy the scenic drive through Capitol Gorge!
When you reach the end, find a place to park. This drive is sort of a two-birds-one-stone scenario as the scenic road also leads to your next stop: The Capitol Gorge to Tanks Trailhead.
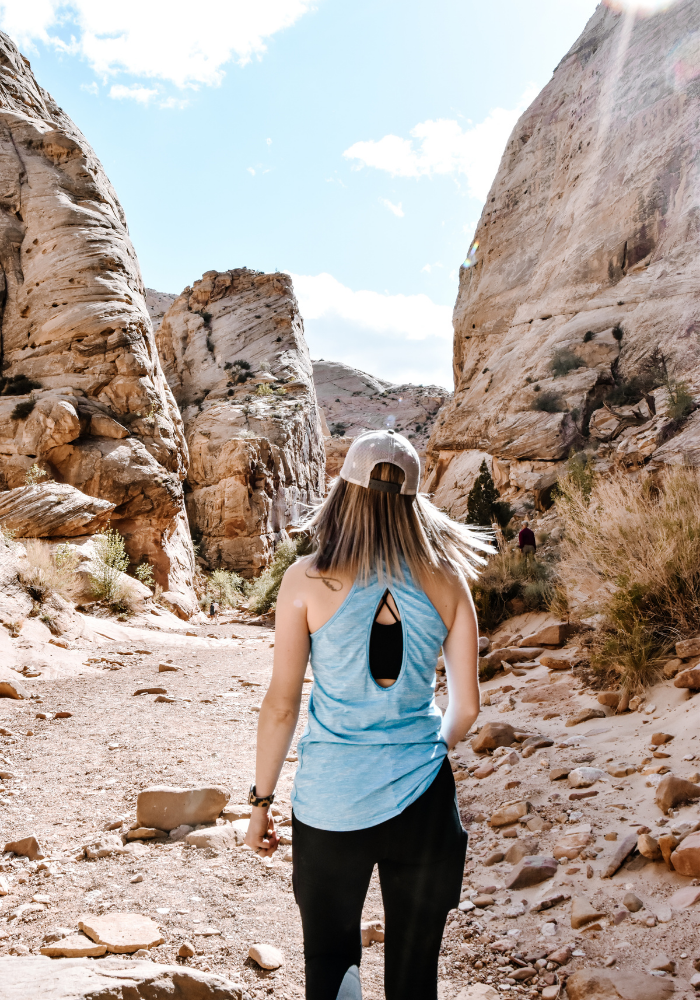
Stop 5. Capitol Gorge to Tanks Trail
TOTAL DRIVE TIME: 0 MINS, IF YOU FOLLOWED THE SCENIC DRIVE ALL THE WAY TO THE END
TIME AT STOP: 1 HOUR, 30 MINS
TOTAL TIME: 1 HOUR, 30 MINS MINS
WHAT YOU’LL DO & SEE:
- Hike through Capitol Gorge
- Hike up the last, small stretch (steady incline) and check out the natural water tanks and small rock bridge
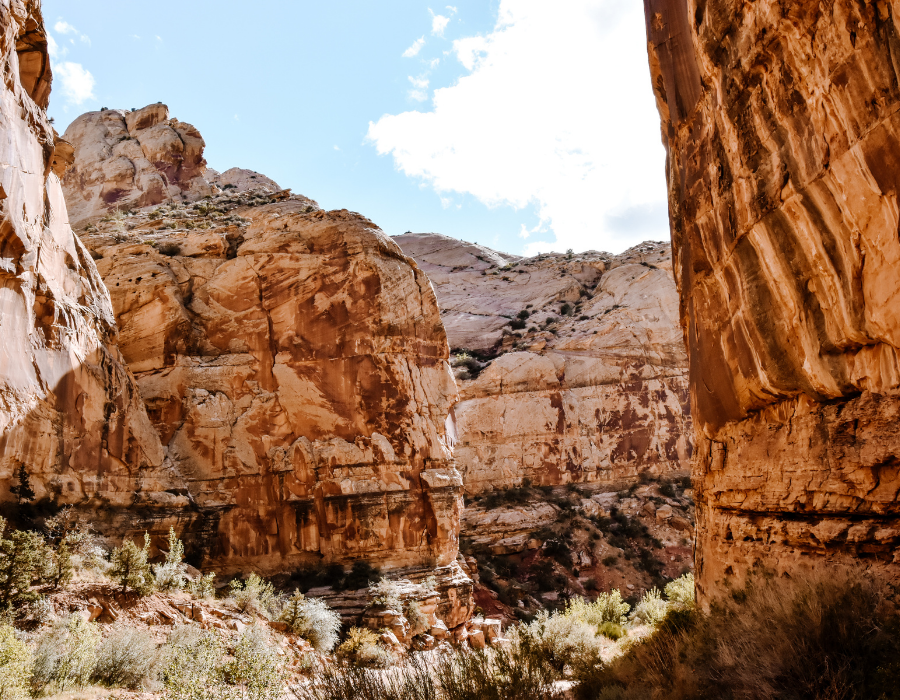
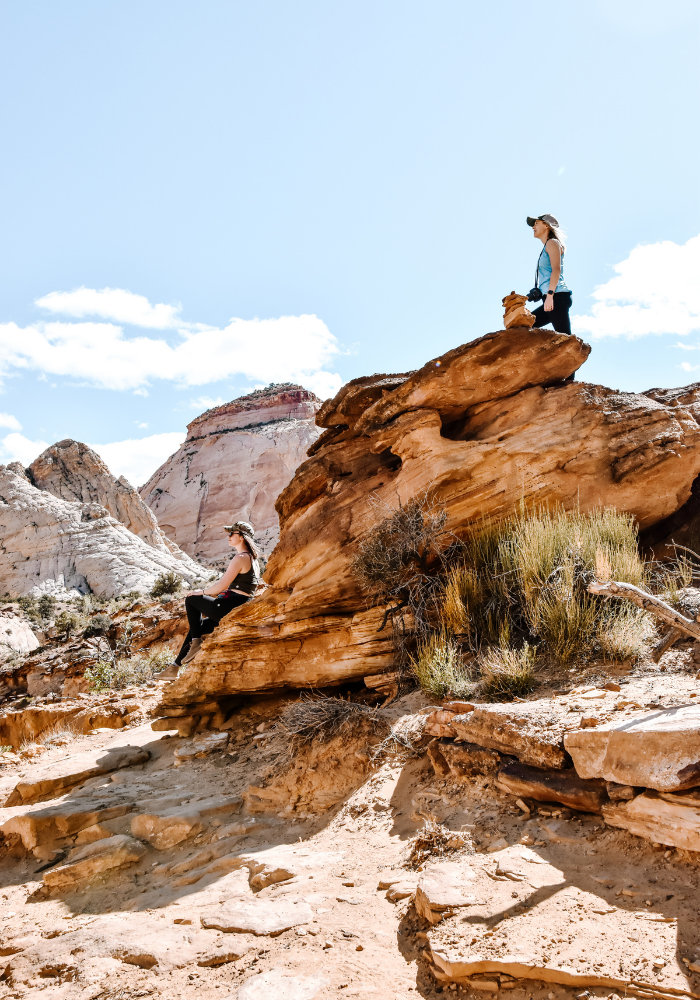
This trail is very flat until the end! Once you reach the “trail” up to the Tanks (it will be on your left) make sure to follow the cairns (man-made pile of rocks) so you don’t get lost. The trail is not super defined and not marked at all. Once you reach the end, there are a couple natural “pools” that can be seen below you as well as a small natural bridge. They are hard to photograph since they’re below you and heavily shaded by the canyon walls.
TRAIL INFO
Distance: 2.2 Miles
Elevation: 396 Feet
Difficulty: Easy
Trail Type: Out & Back
Stop 6. Eat Lunch at one of the Picnic Areas
TOTAL DRIVE TIME: 32 MINS
TIME AT STOP: 40 MINS
TOTAL TIME: 1 HOUR, 12 MINS
Leaving from the Capitol Gorge trailhead, drive back towards the way you came. Less than 1 mile before you hit the Visitor Center, you’ll see 2 picnic areas: The Chestnut Picnic Area and the Doc Inglesby Picnic Area. Hopefully you took my advice and packed a lunch, but if not you can head back to Torrey or grab a pie at the Gifford House within the park. This is about the extent of substantial food in the park, though.
Stop 7. Hike Petroglyphs Trail
TOTAL DRIVE TIME: 3 MINS
TIME AT STOP: 15 MINS
TOTAL TIME: 18 MINS
WHAT YOU’LL DO & SEE:
- Walk the short, boardwalk trail
- See petroglyphs, created by Fremont Culture Indians between 700 and 1,000 years ago
Petroglyphs Trail will be a really quick stop on your itinerary, but it’s worth seeing! Plus, it’s right along the road to your next stop: The Hickman Bridge Trail.
Many of the petroglyphs are faded and difficult to see, but it’s kind of fun trying to spot them.
NOTE: When we visited (in May) the boardwalk was completely covered in tent caterpillars. You couldn’t put your hand on the railing without getting swarmed.
TRAIL INFO
Distance: 0.3 Mile
Elevation: 49 Feet
Difficulty: Easy
Trail Type: Out & Back

Stop 8. Hickman Bridge Trail
TOTAL DRIVE TIME: 1 MIN
TIME AT STOP: 1 HOUR, 10 MINS
TOTAL TIME: 1 HOUR, 11 MINS
WHAT YOU’LL DO & SEE:
- Take a brief, flat walk along the Fremont River
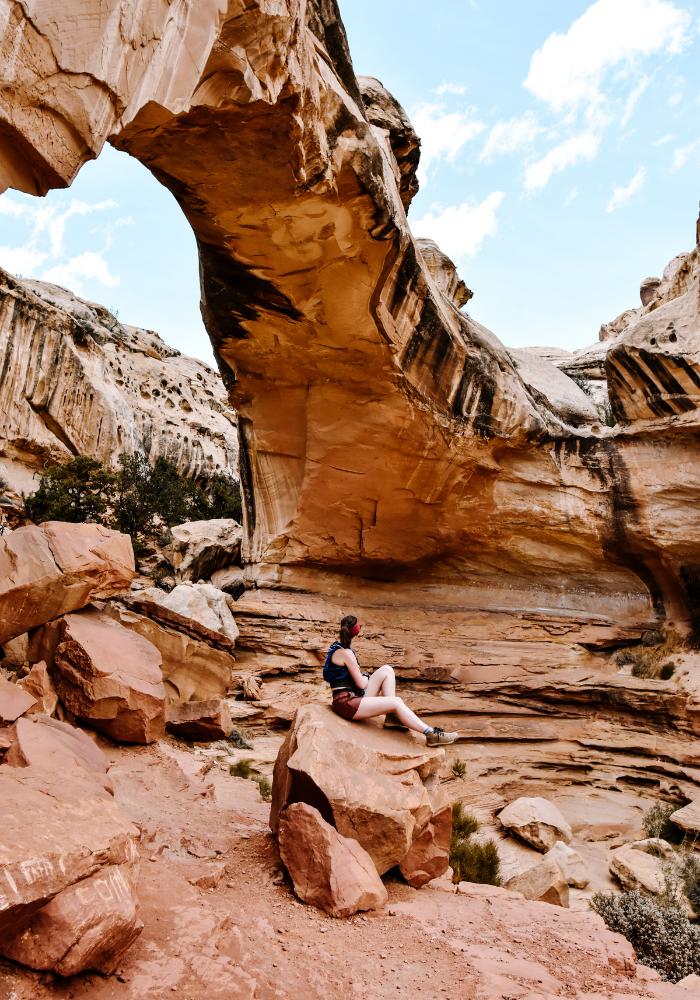
- See and photograph the massive, 133 foot natural bridge
At a measly 1 minute, this will be your shortest trip yet! But set aside at least 1 hour to complete the Hickman Bridge Trail. This hike is a can’t-miss in my opinion. The natural bridge is 125 feet high and 133 feet across. It’s much bigger than I expected and the hike to the bridge is pretty scenic, even on it’s own.
TRAIL INFO
Distance: 1.7 Miles
Elevation: 416 Feet
Difficulty: Moderate
Trail Type: Out & Back
Stop 9. Get Dinner + Re-fuel (even if you have a mostly full tank)
TOTAL DRIVE TIME: 18 MINS
TIME AT STOP: 1 HOUR
TOTAL TIME: 1 HOUR, 18 MINS
Head back to Torrey, Utah to get some dinner. You’ll also want to fill up, or top off, your gas tank either before or after you eat because (depending on the capability of your vehicle) you’re about to embark on a long, off-grid adventure. So even if you have 7/8ths of a tank, fill it up completely before you leave Torrey. It can’t hurt anything!
Here are a few restaurants in the area:
- Chak Balam Mexican Restaurant: Casual, dine-in Mexican Food
- Slackers: Fast Food – Burgers, Fish & Chips, etc.
- Hunt & Gather Restaurant: Quiet, upscale, dine-in restaurant with a variety of foods
- Torrey Grill & Barbecue: BBQ / Grilled Meats – Salmon, Ribs, Tri-tip, Tofu & More!


Stop 10. Pick Your Sunset Location!
I’ve laid out two of the best locations for sunset (at least in my opinion). The reason for this is that you absolutely need 4WD, and preferably high clearance, to get to the Temple of the Sun and Moon. And obviously not everyone has that.
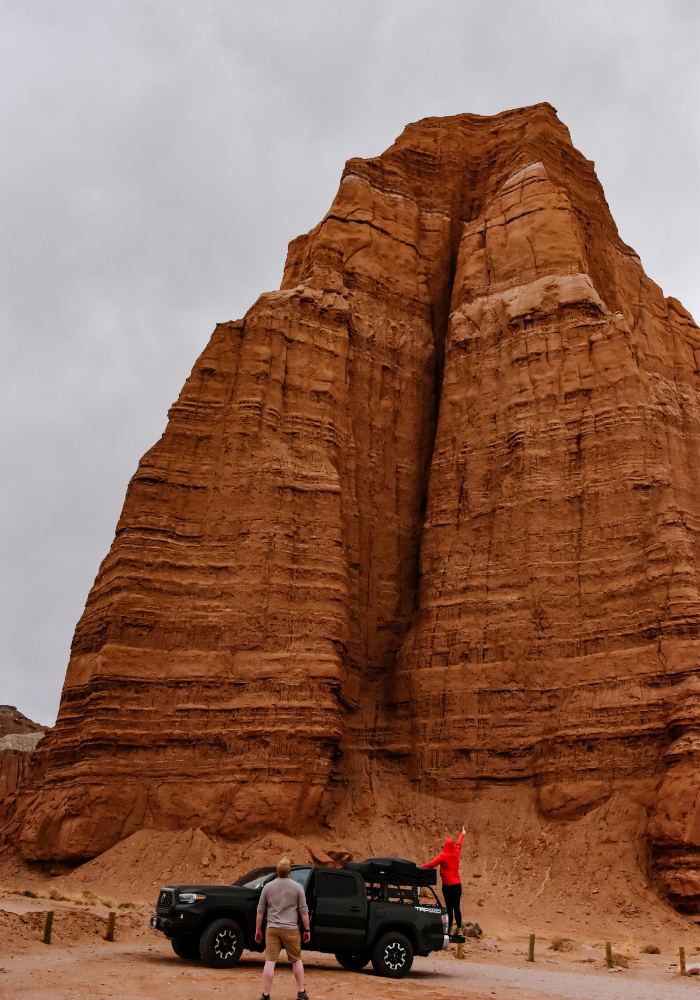
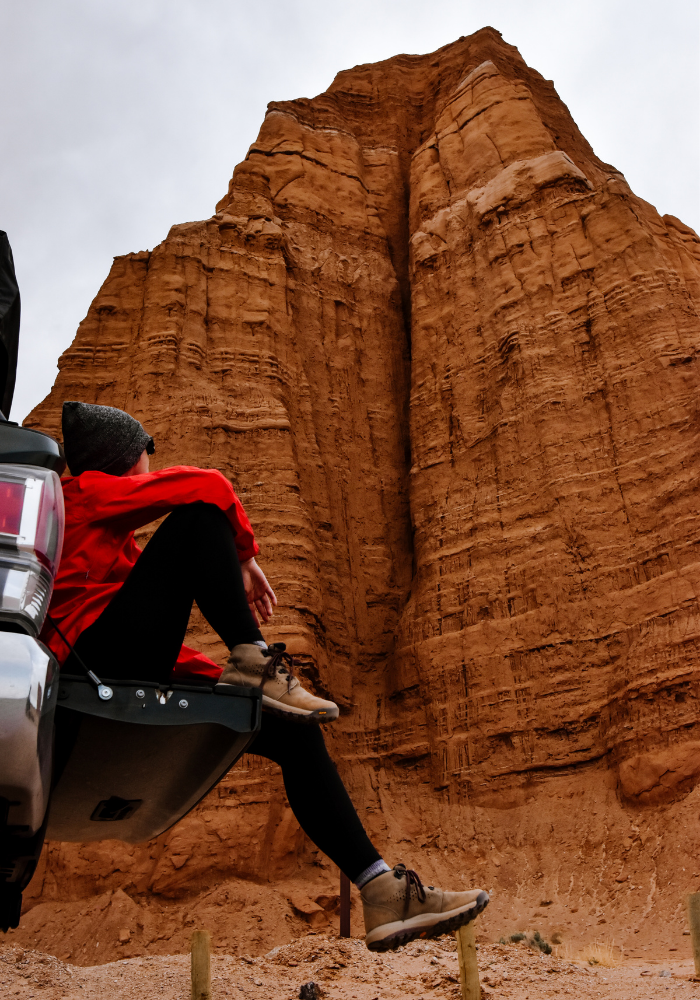
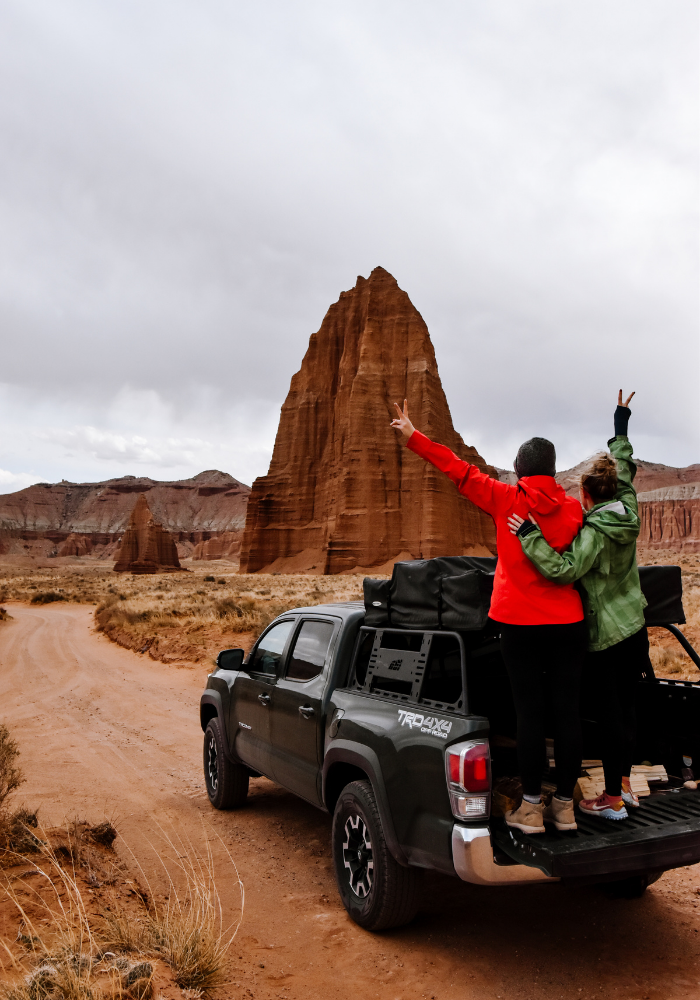
However if you have a capable vehicle, I definitely recommend choosing the Temples. This is probably the most iconic area of the park, so if you have the chance to see them – take it! They are giant monoliths that look absolutely gorgeous at sunset. Unfortunately, we had awful weather during our visit (SUPER high winds) so we ended up leaving early to find a good, less windy place to camp for the night.
#1 Temple of the Sun and Moon: Cathedral Valley
TOTAL DRIVE TIME: 1 HOUR, 45 MINS
TIME AT STOP: 30 MINS
TOTAL TIME: 2 hours, 15 MINS
WHAT YOU’LL DO & SEE:
- Drive through a beautiful desert landscape and check out the Bentonite Hills
- Make your way through Cathedral Valley
- Experience (and photograph) the giant monoliths (Temples of the Sun and Moon)
- Drive a tiny bit further and see Glass Mountain – a small hill comprised of silicate that sparkles in the sunlight
As I stated before, this is a bit of difficult drive. You need 4WD and it’s recommended that you have high clearance as well. After driving through it myself, I think high clearance is pretty important. There are a lot of big dips where you could easily bottom out in a smaller car.
The drive to the Temples is really pretty, but the road is rough and you need to be paying close attention as you’ll have to maneuver around large rocks, dips in the road, etc. You likely won’t be going any faster than 15 mph, which is why it takes so long to reach Cathedral Valley.
Something else to note: you need good directions. We got our initial directions from a park ranger and got hopelessly lost. I definitely suggest you read (and save) my step-by-step directions, linked below, and also download an offline map as a back-up. A lot of maps won’t properly route you, but at the very least you can see what road you’re on and where it leads.
Check out my step-by-step directions here, so you don’t make the same mistake we did!
#2 Goosenecks to Sunset Point Trail
TOTAL DRIVE TIME: 12 MINS
TIME AT STOP: 1 HOUR, 30 MINS
TOTAL TIME: 1 hour, 42 MINS
WHAT YOU’LL DO & SEE:
- First, check out Gooseneck Overlook
- Continue hiking to Sunset Point
- You can view the sunset from either of these locations 🙂
If you do not have a 4WD vehicle, you can still enjoy a gorgeous sunset at one of these overlooks. The drive there is MUCH faster and easier (only 12 minutes) and it offers panoramic views. Both viewpoints are along the same trail, however many hikers found Sunset Point more difficult to find as the trail isn’t well marked.
TRAIL INFO
Distance: 2.5 Miles
Elevation: 544 Feet
Difficulty: Easy – Moderate
Trail Type: Out & Back
Traveling Through Utah?
Check out this epic one-day Bryce Canyon itinerary
– OR –
Learn how to get to the Temple of the Sun and Moon
– OR –
Discover 7 epic and easy hikes in Zion National Park
If ya like it, pin it!
