

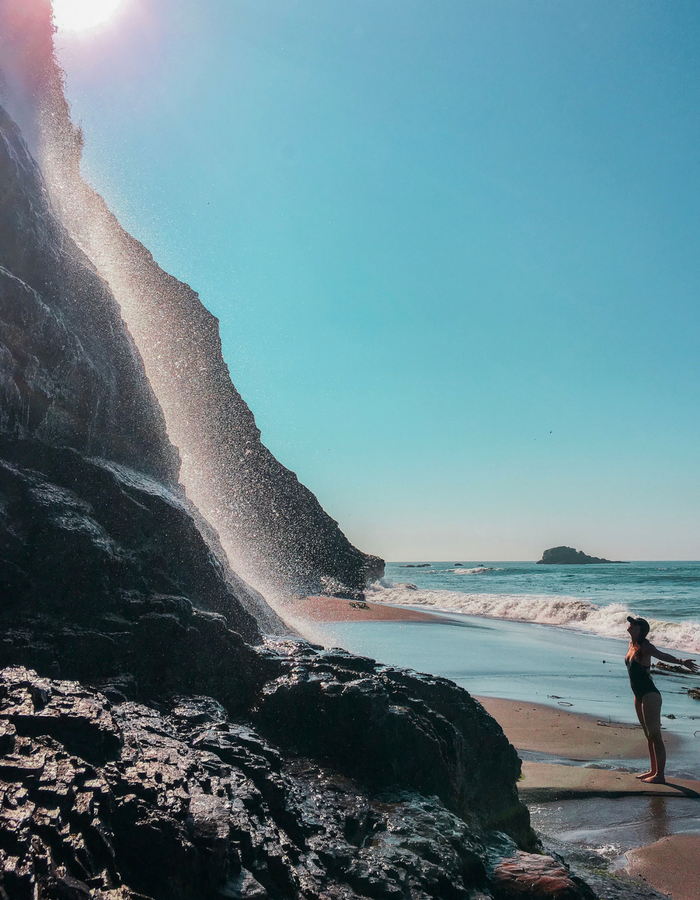
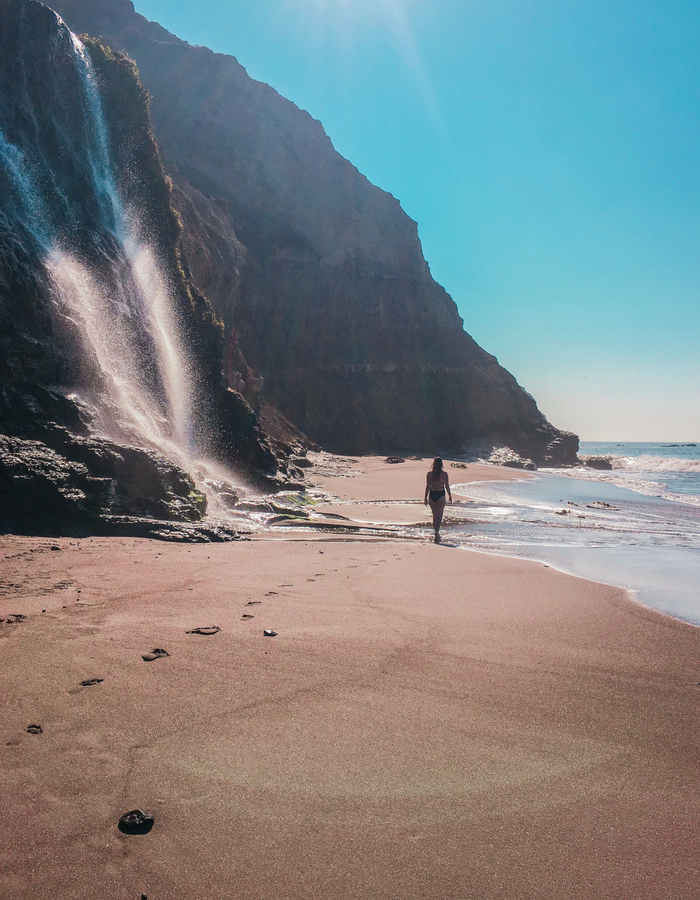
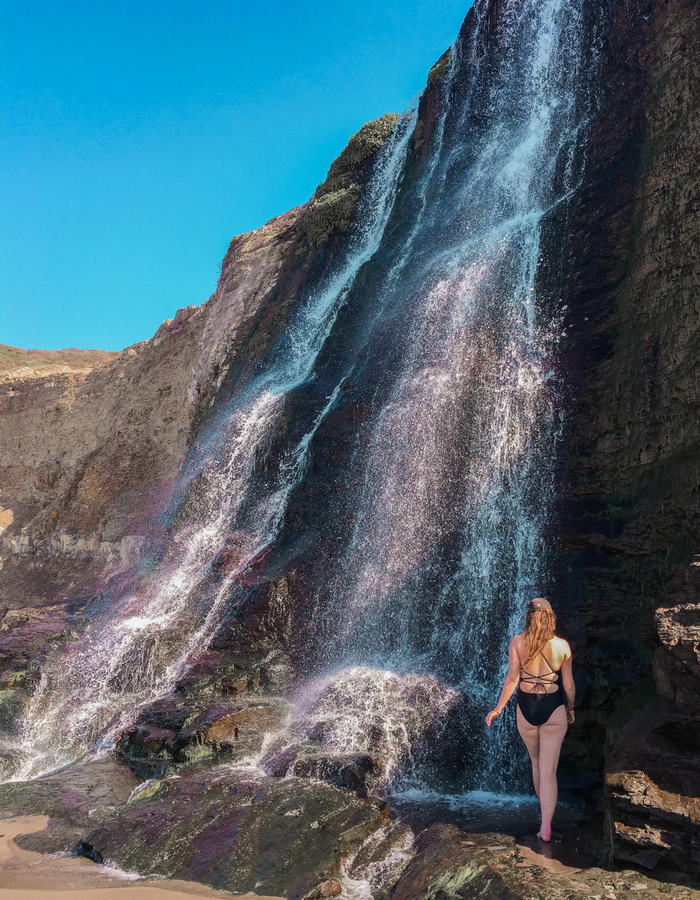
Alamere Falls is not your regular, everyday waterfall. It’s a tide fall, and it’s actually more rare than you’d think!
RELATED: “THE ULTIMATE REDWOODS NATIONAL PARK 2-DAY ITINERARY”
Tide falls are waterfalls that pour directly into the ocean and there’s about 25 in the entire world (only 6 of which are in North America). It’s more famous tidefall cousin, McWay Falls, is also located in California but is not reachable by foot – making Alamere, in our opinion, way more awesome.
But, alas, the journey to the falls is not easy. And with the original trail being “closed” (we’ll get into that later) this up-and-down-and-up-and-down 14 mile hike is sure to leave you screaming into the breezeless wind “WHY ME?!”. Or is the just me?
So before you lace up your boots and start your trek to one of the most magical places in California, here are some things you should know.
Picking a Trail
Before starting out on this journey, I read that the hike to Alamere Falls was just over 8 miles. Easy peasy. Then, upon arriving in Point Reyes, a sign at the Palomarin trailhead informed me that the hike is actually 14 miles long.
Wait, what? Somebody didn’t get their facts straight.
Or did they?
The truth is, there are actually 2 trails to Alamere Falls, but the significantly shorter trail has been closed indefinitely. The trail has suffered serious damage due to winter storms and hasn’t been maintained since the 70’s.
I didn’t know this before setting out, and I decided to use my handy dandy Maps.Me app to find a quick route to the falls. (Yes, Maps.Me does display the shorter, closed trail. And it works offline!).
Download Maps.Me now!
I decided to take the short way there and the long, grueling way back – making my hike approximately 11 miles long.
So which trail is best? Well, that all depends on your own comfortability and limitations, but let’s weigh out the options.
SHORTER.
PROS:
- Faster (obviously): This trail is only 8.4 miles total, as opposed to 14.
- Less elevation change: Of course you have the extremely steep descent at the very end, but otherwise, I felt this trail had much less ups-and-downs.
- Less sun exposure: About 2 out of the 4 miles to the falls is exposed to direct sunlight – the rest is shaded.
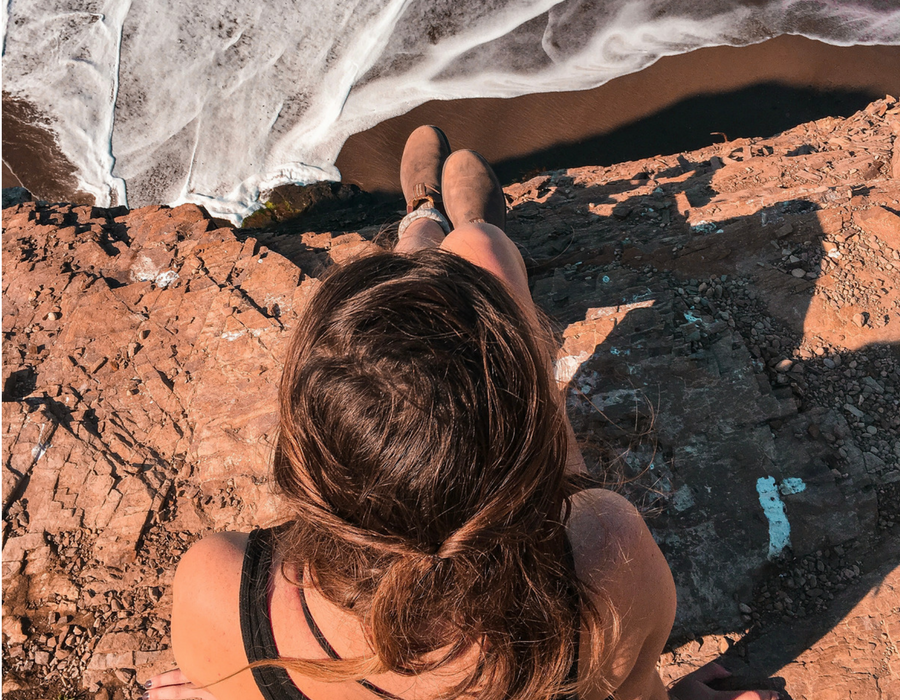
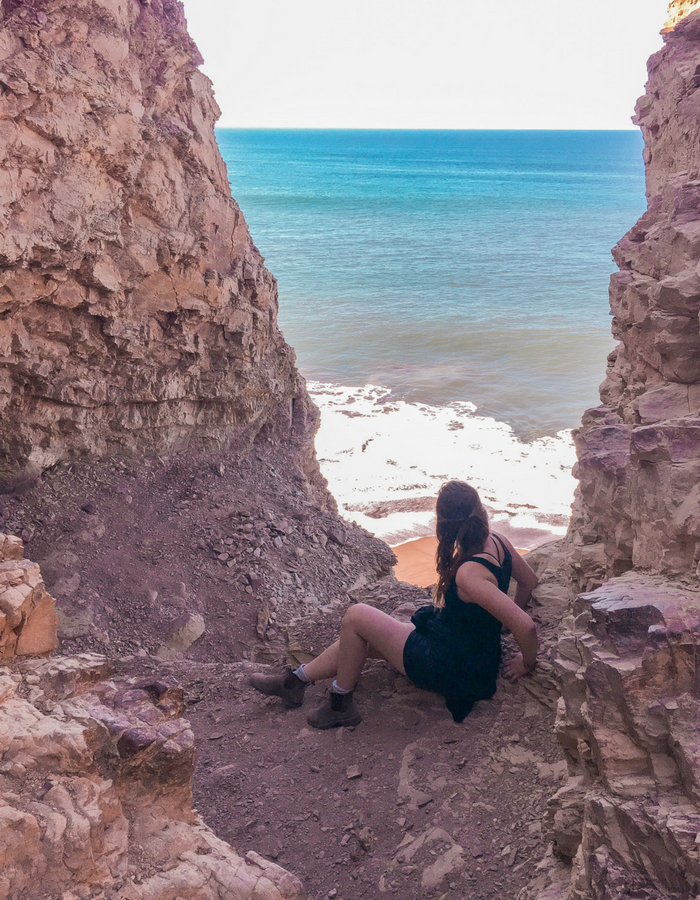
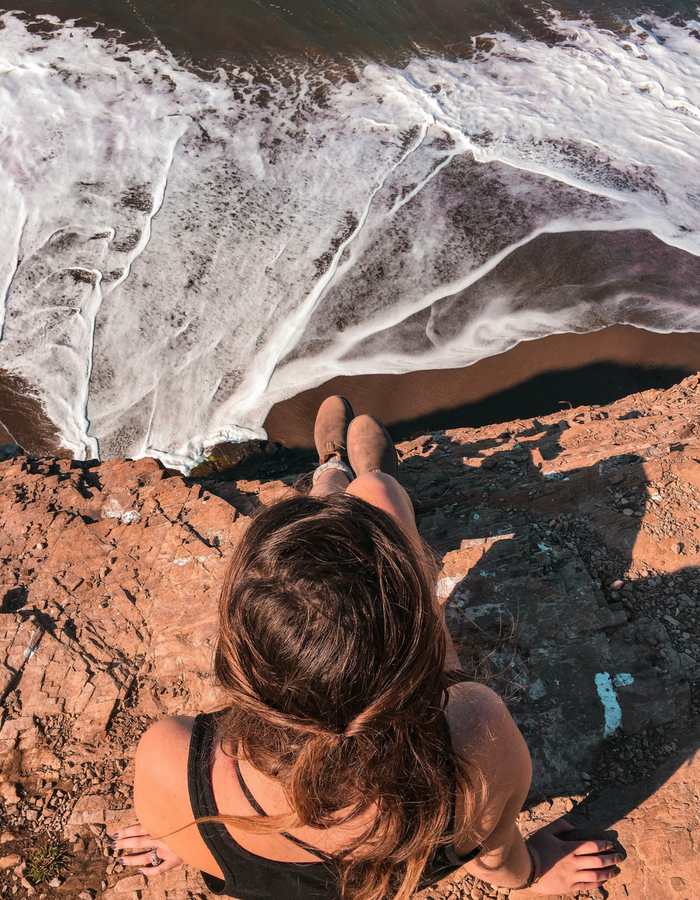
- More exciting/interesting: The steep decent down the cliff may be dangerous, but it’s also exciting! Not to mention, you get to see 3 smaller waterfalls on your way down and you get a nice view from the top of Alamere Falls.
CONS:
- Difficult to Spot: At first glance, it would appear to be a game trail.
- Higher possibility of injury: The washed out trail, loose rock and cliff edges present some serious dangers. Injuries are a frequent occurrence on this trail. Take your time during the descent (even if people are behind you) and don’t be afraid to slide on your butt if you need to. I definitely did.
- Technically prohibited: This trail is officially closed, though there are no signs indicating this. If you decide you can handle it, it’s at your own risk.
DIRECTIONS:
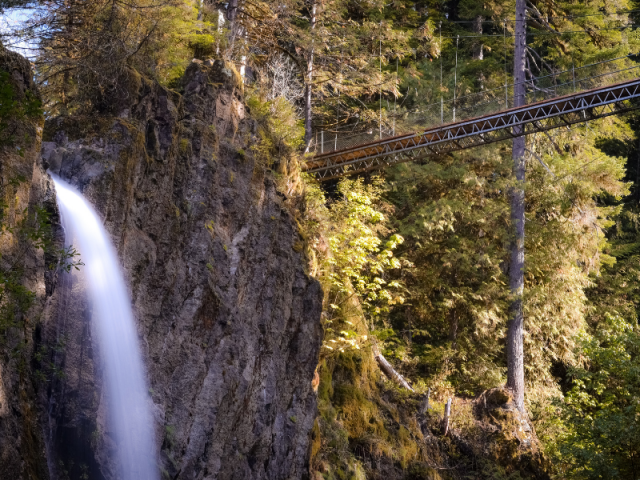
Start at the Palomarin trailhead and continue down Coast Trail. You’ll cross over 2 bridges and pass Bass Lake.
After this, start watching carefully. There are several small trails that appear to be game trails, but one (on the left side of the trail) is marked with a pile of rocks in the middle of the trail forming an arrow. It would be easy to miss if you weren’t looking for it.
If you pass over the 3rd bridge, you’ve gone too far. Walk back up the hill you just descended and start looking for the rock arrow.
LONGER.
PROS:
- Easy to Navigate: No need to watch for any make-shift “signs” on this trail.
- Less Treacherous: If you’re afraid of heights or just not great at navigating slippery slopes, this trail will be much easier for you. There is no cliff to descend. The trail takes you easily and gradually down to the beach.
- Less illegal: I doubt you’d get into any real trouble for taking the path less traveled (especially since there are no signs indicating it’s closure) but the longer route is the only “official” trail to Alamere Falls.
CONS:
- Longer: The total length of this trail is 14 miles and it will probably add another 2-3 hours to your hike, at least.
- Prolonged sun exposure: After the turn-out for the shorter Alamere Falls trail, there is very little shade. Much of the longer trail is exposed and, in the summer especially, this can be problematic.
- More elevation change: The trail passes through the hills, so you can expect a lot more ups and downs.
- Hornets: Not sure if this is a seasonal thing or not, but when we visited in November we came across a warning sign for hornets and almost immediately walked into a small cloud of them. We didn’t get stung, but if you have severe reactions, this is something you may want to consider.
Follow Coast Trail all the way to Wildcat Campground. Follow the trail down to the beach, turn left (heading South down the beach), and walk along the shore until you reach the tidefall (about 1 mile).

OVERNIGHT.
Want to see the falls at sunrise, when no one is around? Or at sunset, to watch the horizon light up in a fiery blaze of colors?
Set up a tent at Wildcat Campground!
The campsite rests at around mile 6, just before the trail reaches the beach. This is the surest and safest way to see the sunset or sunrise at Alamere Falls. It is a quick, easy 1 mile beach walk from the falls and would be completely safe to do in the dark (with flashlights). Just be sure to check the tide schedule before planning your trip out! And remember, cell phone reception is not likely out here – so do your research beforehand.
COST: $20/night
AMENITIES: Pit toilets, water faucet (most often potable, but not guaranteed), charcoal grills, picnic tables, and food storage lockers.
NOTE: This campsite requires you to reserve a spot. Click here for more information.
General Information
TRAIL LENGTH: 8.4 Miles OR 14 Miles
TRAIL DIFFICULTY: Moderate – you lose about 600 feet in elevation. It’s a lot of up and down (especially on the longer trail) and much of the trail is exposed to sunlight.
APPROX. TIME SPENT: 4-5 hours OR 7-8 hours
HEIGHT OF ALAMERE FALLS: 39′
WILDLIFE SPOTTED: Quail, turkey vulture, falcon, banana slug, black lizard (unidentified), rabbit, grey fox, harbor seal.

What To Bring
- LOTS of water
- Snacks (Think carbs and proteins)
- A Sunhat
- Sunscreen (Especially in the summer months)
- Good shoes (BONUS if they’re waterproof or quick drying)
- A solar charger (if you have one). My phone lost power after the first 100 photos of the tide fall… oops.
HELPFUL TIP: Attach the solar charger to your pack and charge on the go!
Final Thoughts (Do’s and Don’ts)
Not to go all Tomi Lahren on you (what self-respecting democrat or republican wants that?), but here are my final thoughts and tips on the Alamere Falls hike:
- DON’T bring your dog: Dogs are not allowed on this trail. People bring them anyways, but please don’t. There are usually reasons for these rules (i.e. Some dogs don’t understand how cliffs work, they attract predators, they scare fragile wildlife that are protected in the area, etc.).
- DON’T push yourself too far: A little challenge is good, but if you’re used to shorter hikes this isn’t the challenge to start out on.
- DON’T feed or approach the animals: Wildlife is adorable (I mean, did you even SEE that picture of the cute little fox?) but it saddens me to see them so comfortable with humans. Let’s keep wildlife wild! Most people who feed wildlife have good intentions, but in the long run, it’s just plain bad for them. You can read more on the harmful effects of feeding wildlife here.
- DO come prepared: Bring the essentials. Water, food, sun protection, etc.
- DO plan ahead: Check tide schedules, weather, sunset/sunrise times, length and difficulty of the hike, etc.
- DO relax and enjoy! This is probably one of the most unique hikes I’ve ever experienced. When we finally reached the beach and I heard the sound of the waves rolling in and saw the speckled face of a harbor seal greeting me from the water with not a human soul in sight, I realized it. I had found my heaven!
Plus, a waterfall on the beach? What could be better than that?
Seen any spectacular tidefalls that you’d like to share?
OR
Tried this hike before and have something to add? Let me know in the comments!
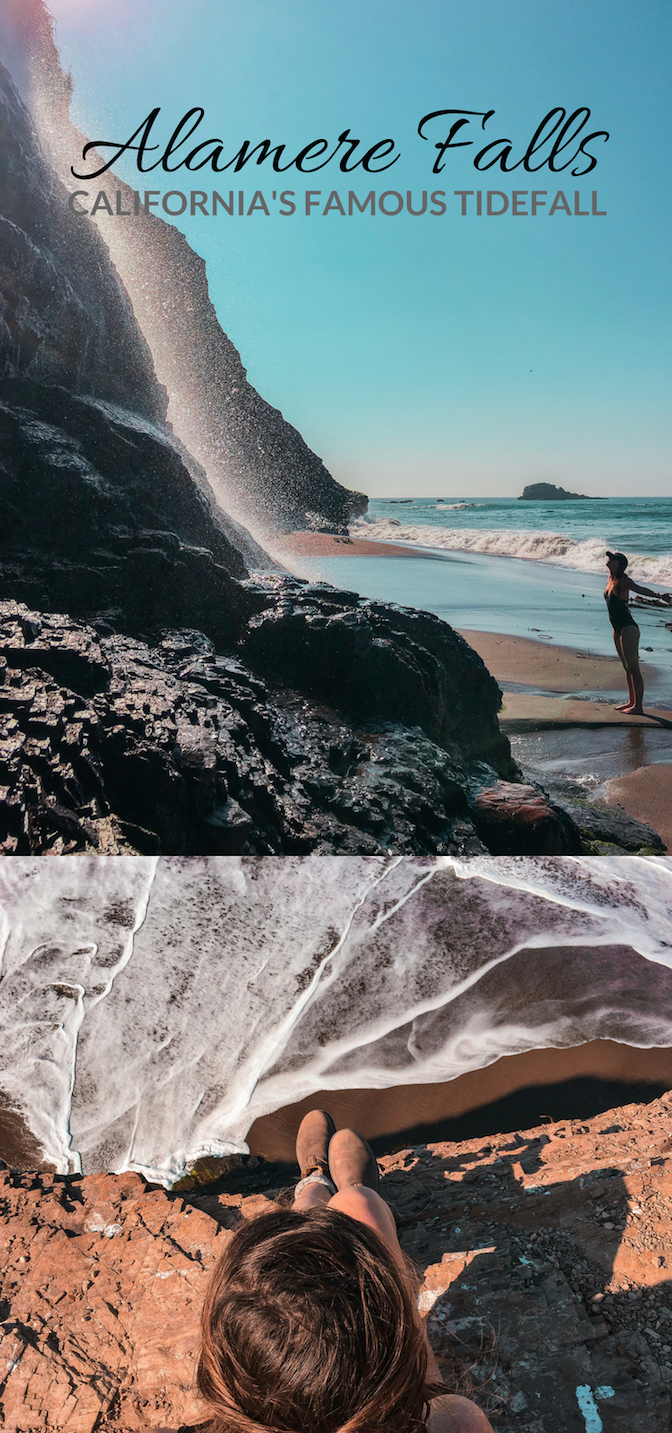
SHARING IS CARING. PIN ME 😉
Had no idea tidal falls were even a thing. Visiting San Francisco in April, may have to throw this hike into the plans. Thanks!
Definitely do! Such an incredible hike! Hope you have fun in SF 🙂
[…] https://recklessroaming.com/alamere-falls-hiking-tidefall-trail/ […]