
Oregon has no shortage of epic waterfall hikes
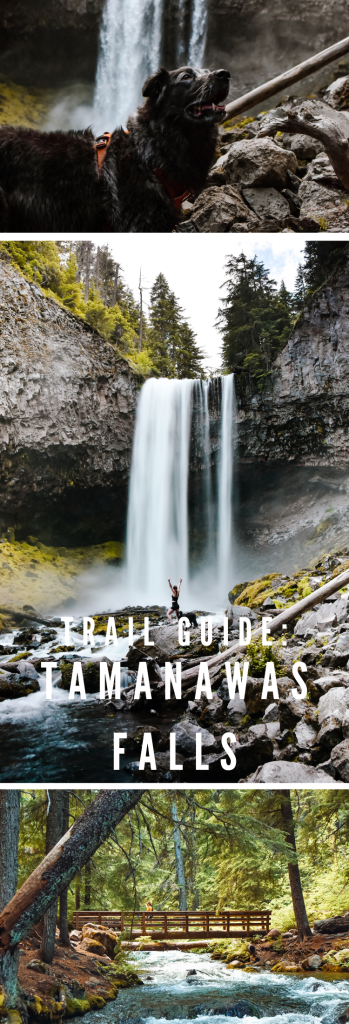
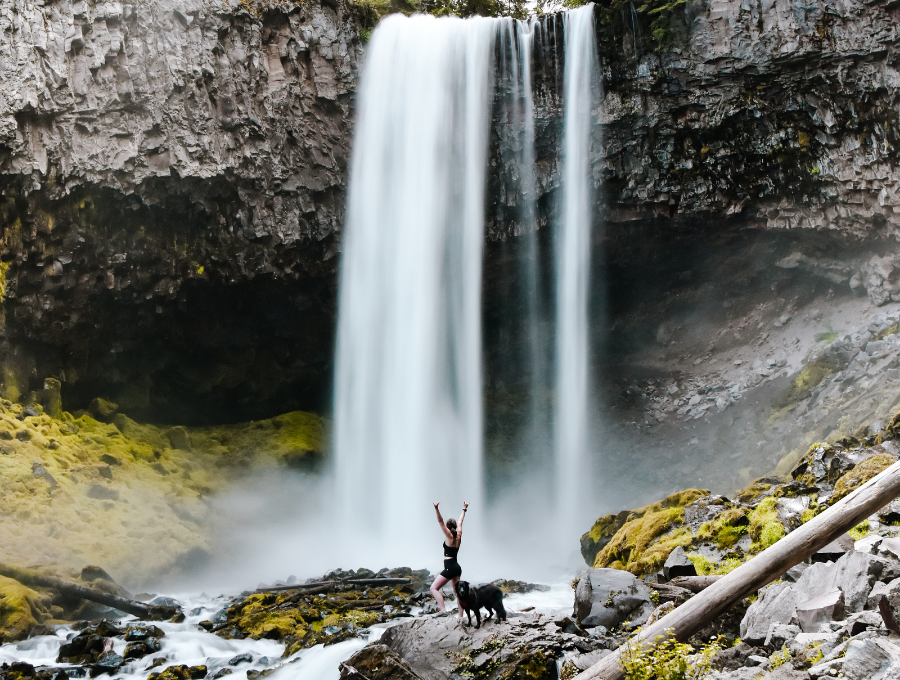
But the most epic one I’ve been on yet (by a long shot) is the trail to Tamanawas Falls.
What’s crazy is we had zero plans to see this waterfall during our trip. We were actually on our way to a different, waterfall-less trail (what were we thinking!?) when we saw a sign for Tamanawas Falls – and we were like, “Falls? We like falls”. So we pulled over and started our hike.
Is that the best way to pick a trail? No. But we knew it was dog-friendly and we knew it was hella hot outside, so that was enough for us.
NOTE: Despite not taking my own advice, I always recommend checking out the AllTrails trail reviews before heading out. Reading the most recent reviews is really useful – people will let you know if there is limited shade (super helpful when hiking with a dog), any obstructions / closures, parking limitations, or any tricky areas of the hike that aren’t mentioned in the main trail description.
AFFILIATE LINK DISCLOSURE: This post contains affiliate links. Anything you purchase using one of my links earns me a small monetary kickback at NO extra cost to you. Of course I only link to products that I believe to be useful and good quality. If you want more information on affiliate links and why I use them, click here.
In this post, I’m going to go over the following:
1. Trail Info: Basics (Distance, Eleveation, Etc.), Details, and Trail Conditions
2. Things to Know Before You Go (Including Fees + Rules)
3. Best + Least Busy Times to Visit
4. What to Pack
5. How to Hike it With Your Dog
6. Photography Tips (that don’t require a fancy camera!)

Trail Information for Tamanawas Falls
Basic Trail Info:
Distance: 3.4 miles
Elevation: 580 feet
Trail Type: Out & Back
Difficulty: Moderate
How long does it take to hike to Tamanawas Falls?
1 hour and 35 minutes. This is the average, but if you’re big into photography you’ll probably spend a little bit more time here.
Detailed Trail Info:
The trailhead is right off the main road, Highway 35, near mile marker 72. The parking lot is essentially a large pullout, so make sure your dog is already on leash when you exit your vehicle.
The parking lot, during peak seasons (and particularly midday) gets very full – so it’s better to go earlier or later in the day. There are trash cans, picnic tables, and a bathroom at the trailhead.
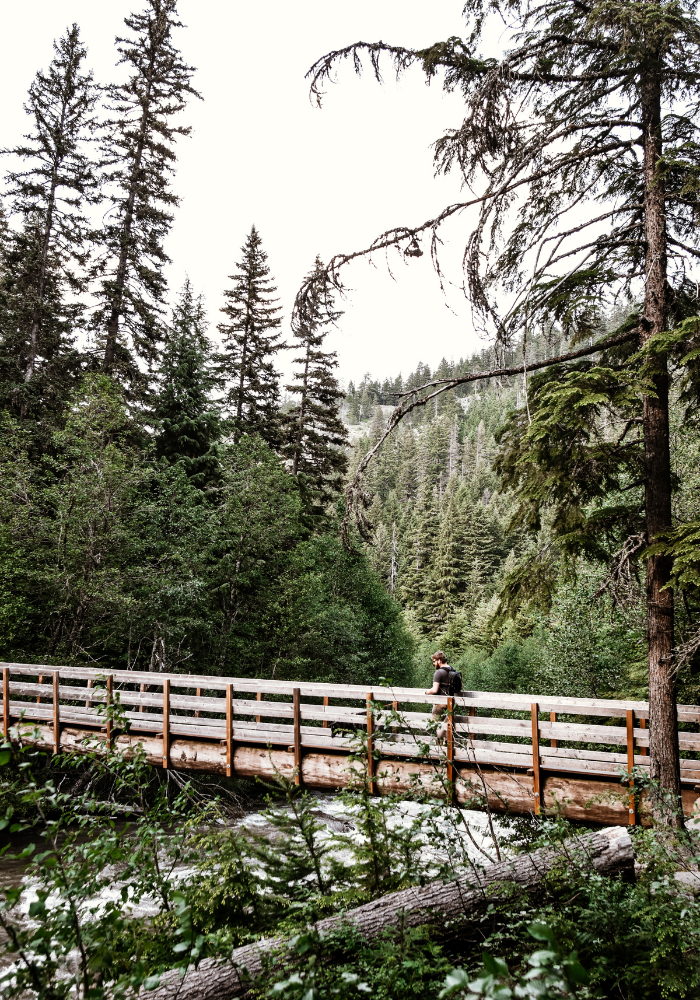
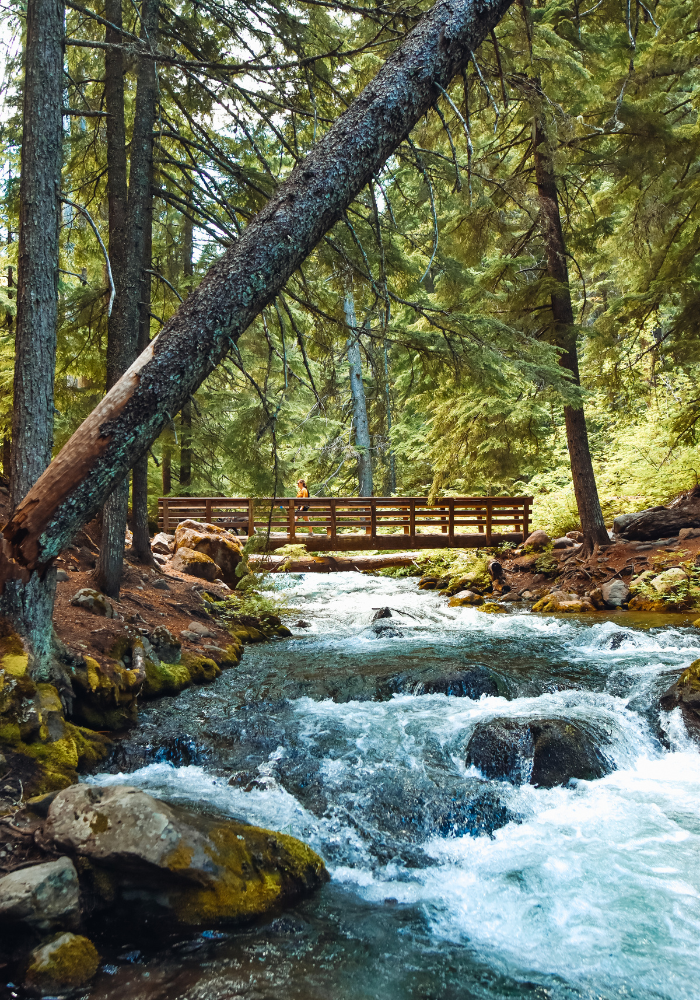
Getting onto the trail you’ll immediately cross a bridge. After that, the Tamanawas Falls trail is pretty straightforward until you get to the last 1/4 mile or so of the trail. There may be a few slightly wet / muddy areas (perhaps more if you’re planning on hiking during the shoulder season) but for the most part, it’s pretty dry and maintained.
When you’re in the final stretch, you’ll reach a rock slide where you have to do a little bit of scrambling, but it isn’t very technical. It’s harder on the way back (since you’ll be going up on the way there, and down on the way back) but it’s still doable for most hikers. It is fairly easy to see / determine which route is the easiest way up.
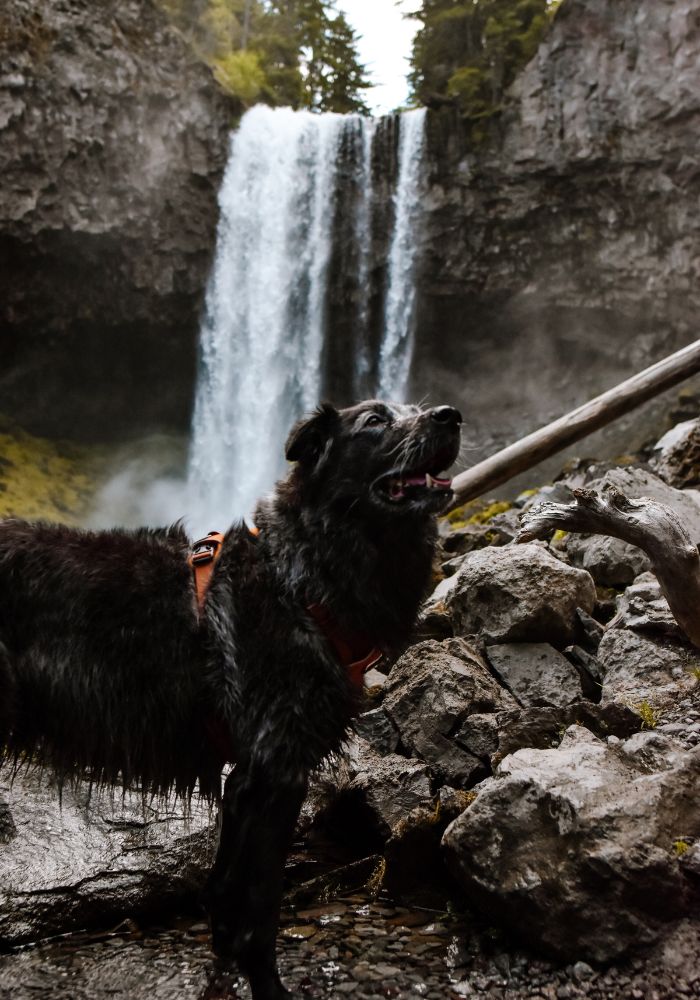
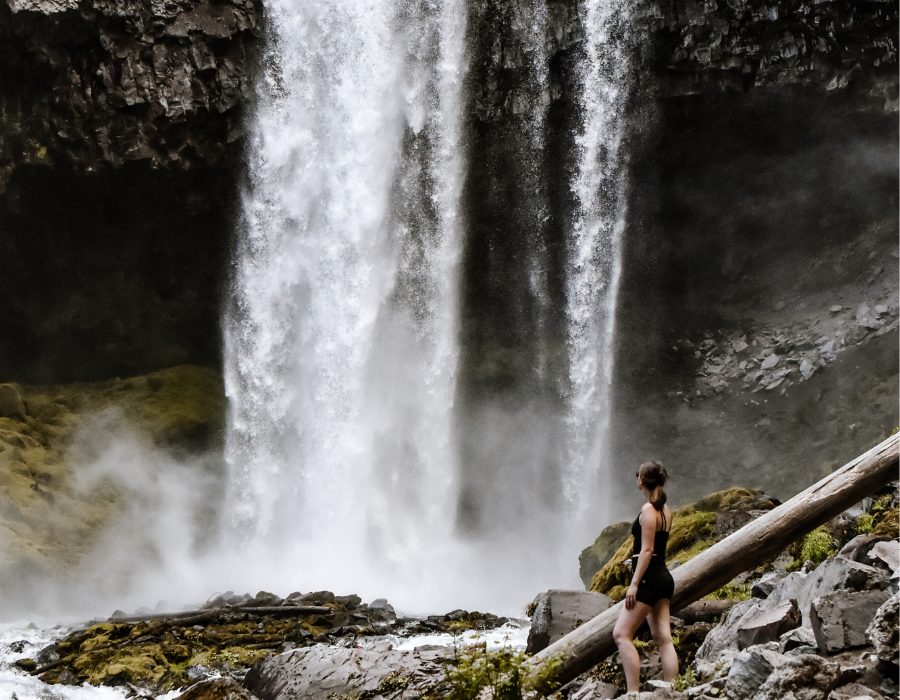
Once you reach the top of this minefield, you’ll soon get your first glimpse of Tamanawas Falls. A distant view, but it’s still worth a quick picture!
Hike a little further and the trail disappears, but at that point you can see the falls very clearly and work out the safest way down. It isn’t challenging to get down to the river (where most of my photos were taken) but if you want to get really close to the waterfall, you’ll have to climb over some large and slick rocks.
Trail Conditions:
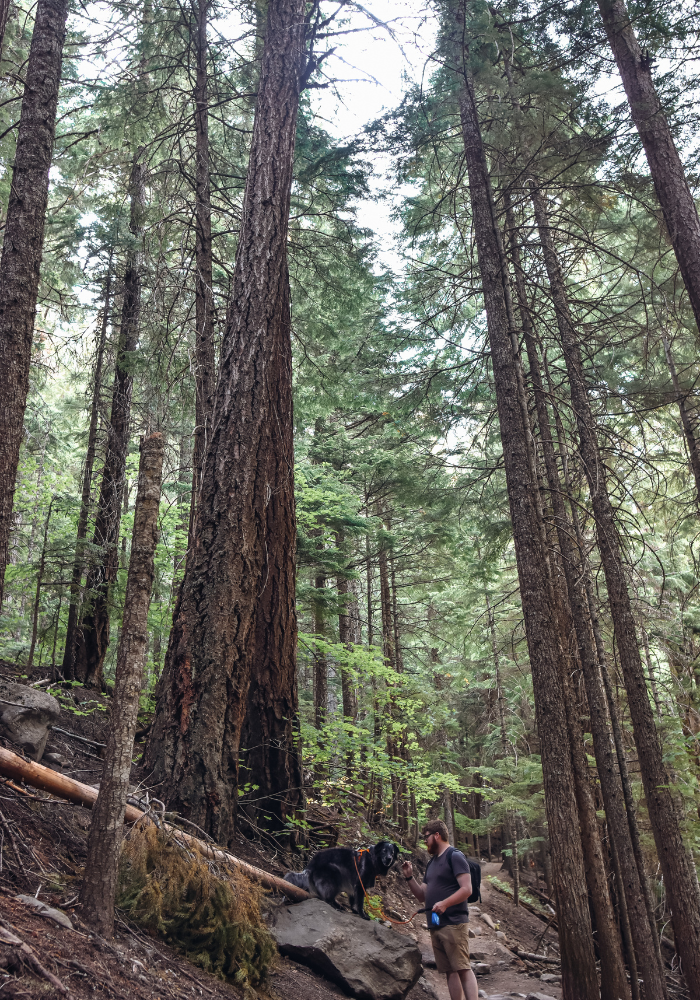
- Shade. Most of the Tamanawas trail winds through the trees, so it is well shaded
- River. There’s plenty of great places to stop and let your dog rehydrate (if you have one)
- Roots. Like I said before, the trail is pretty well maintained – but as always you should watch your footing
- Rock Scramble. In case you didn’t read the detailed instructions above, there is a small rock slide area near the end of the trail. It isn’t too difficult to navigate, but might not be fun if you have bad knees
- Drop-Offs. Nothing too crazy (and I’m NOT good with heights, so you can trust me), but there are a few areas that you’ll have to be extra careful if you brought your pet – especially if you don’t have a ton of experience hiking with them
- Wet Rock. If you’re planning on getting close to the falls, you’ll have to climb and hop on some slick rock. Be careful and don’t do anything you aren’t comfortable with. You can get great photos without getting too close
Things to Know Before You Go
This is a Fee Area
There is a $5 fee to park at the Tamanawas trailhead if you don’t have a recreation pass. If you’re planning a road trip through the PNW, I highly recommend ordering an Annual Northwest Forest Pass. This will allow you free access to all National Forests in Washington and Oregon and it’s only $30 – so if you hike 6 or more trails throughout the year, it pays for itself. It also makes things MUCH more convenient as most fee stations are cash only.
Dogs are allowed, but must be kept on leash
The rule is that your dog must be on a leash that is 6 feet or shorter.
There is a mild rock scramble towards the end
In case you didn’t read the trail details, I thought I’d mention this here too! There is a minor scramble towards the end of the trail that requires a little bit of finesse – but it’s nothing too crazy. I just thought it was important to note since it might be hard on the knees for some people.
The parking lot can fill up quickly during peak season
I recommend hiking in the shoulder season or arriving early / late in the day. Based on my travel experience, trails usually start getting busy at around 9:30am or 10:00am.
There are facilities at the trailhead – a bathroom, some trash cans, and picnic tables
The trash cans fill up really quick though, so if you have a trash bag in your car it’d be super nice of you to bring your trash with you instead 🙂
Best Times to Visit Tamanawas Falls
May to October.
Winter photos look absolutely gorgeous, but unless you’re experienced at hiking in snowy / icy conditions I would not recommend it. Many people suggest using microspikes if you’re hiking in the winter. Probably because of the rock scramble which would be very difficult and dangerous to navigate in normal hiking boots!
Spring and summer are THE most popular seasons for this trail. The water / mist is refreshing in the warmer seasons and the trails are in good shape. The downside is the crowds.
In the fall, you’ll usually have dry conditions and far less crowds – which is awesome! But you probably won’t want to get misted when temperatures are dropping. Still though, I think the positives outweigh the negatives as far as fall hiking, so I recommend hiking in September or October if you have that option!

What to Bring to Tamanawas Falls
1. Small Backpack or Hydration Pack
If you’re bringing camera gear, you’ll probably want a backpack rather than a hydration pack. But if you’re trying to keep things light, opt for a hydration pack instead.
2. Plenty of water
I suggest a hydration bladder over a water bottle because of the weight, capacity, and ease of use – but it’s up to you! Most hydration packs come with reservoirs that hold 50 oz. or more.
3. A Quick Snack
Or you can pack a lunch to enjoy by the falls! Just remember to pack out your garbage.
4. Moisture-wicking Clothes
Which means cotton is a no-go. Instead try clothes made of polyester or rayon. If there’s spandex and / or nylon in the blend, that works too!
PRO TIP: You can find plenty of clothing made of these materials that are not marketed towards hikers / backpackers (and they’re MUCH cheaper)
5. Hiking Boots or Trail Shoes w/ Good Grip!
I wore my Merrell trail runners (without socks) and they worked great! But don’t jump cold turkey into trail runners if you’re used to hiking boots. Hiking boots offer a lot of ankle support, so going straight from that to sockless and lightweight shoes can lead to ankle injuries and / or major blisters! I learned that from experience.
6. Sunglasses
Eye protection is so important – for more than just preventing wrinkles!
7. Sunscreen
You can apply this before your hike so you don’t have to occupy more pack space.
8. SPF Lip Balm
Again, I learned from experience. Sunburnt lips might just be the weirdest feeling ever.
9. Small First Aid Kit
Might seem like overkill, but it can’t hurt.
10. Headlamps (at least 2)
Because of my past mistakes and poor planning, I NEVER hit the trail without a headlamp, and a backup headlamp. Sometimes you get to the trailhead later than planned, or you overestimate your hiking speed, or you just want to spend more time taking pictures. Whatever the reason, you can’t fight the sunset! So bring a headlamp and save yourself from hiking home in the dark.
11. Fully Charged Phone
For photos, for a backup light source, or for the offline map (if you’ve downloaded one)
12. Cash (at least $5)
The fee for this trail is $5, unless you have a Northwest Forest Pass.
13. Remaining 10 Essentials (especially if you’re solo hiking)
We covered 5 of the 10 essentials: Water, Food, First Aid, Sun Protection and a Light Source. Those are the essentials I always take with me on well-marked, relatively easy trails. The remaining essentials are:
- Emergency Shelter
- Fire Starting Gear
- Extra Clothes
- Knife & Repair Kit
- GPS / Map
I did not bring these on this trail and, personally, don’t feel they are necessary to pack. The Tamanawas trail is easy to follow, and from the end of the trail to the trailhead is less than 2 miles. HOWEVER, I do recommend them if you’re hiking alone. An accident is a lot more serious if there’s no one there to help.
14. OPTIONAL: Camera Gear
If you don’t have a camera or don’t want to pack your gear, no problem! You can get pretty decent waterfall photos (and even get that silky look, pictured below) using an iPhone! I’ll share some tips at the bottom of this post.
If you DO want to pack your fancy camera, here’s what you should bring:
- Camera. I know. Duh.
- Tripod. It’s an essential for long exposure shots
- SD with enough space! I also recommend taking a test shot before leaving, to make sure your camera and SD are functioning properly
- Extra battery. You’re going to want a backup if you’re taking long exposure shots
- Proper lens. I used a 20mm because I wanted a relatively wide angle, but the size of lens you bring depends on what kind of photo you’re going for. I really like fixed lenses, but you can bring a zoom lens if you want more versatility.
- ND filter. So you don’t overexpose the photo. When we got to the falls I realized I forgot my 20mm ND filter and I was SO mad. But we found a way to make it work by holding up my 50mm ND filter while taking photos. It was janky, but it worked.
15. IF APPLICABLE: Gear for your dog
I’ll talk more about dog gear in the next section!


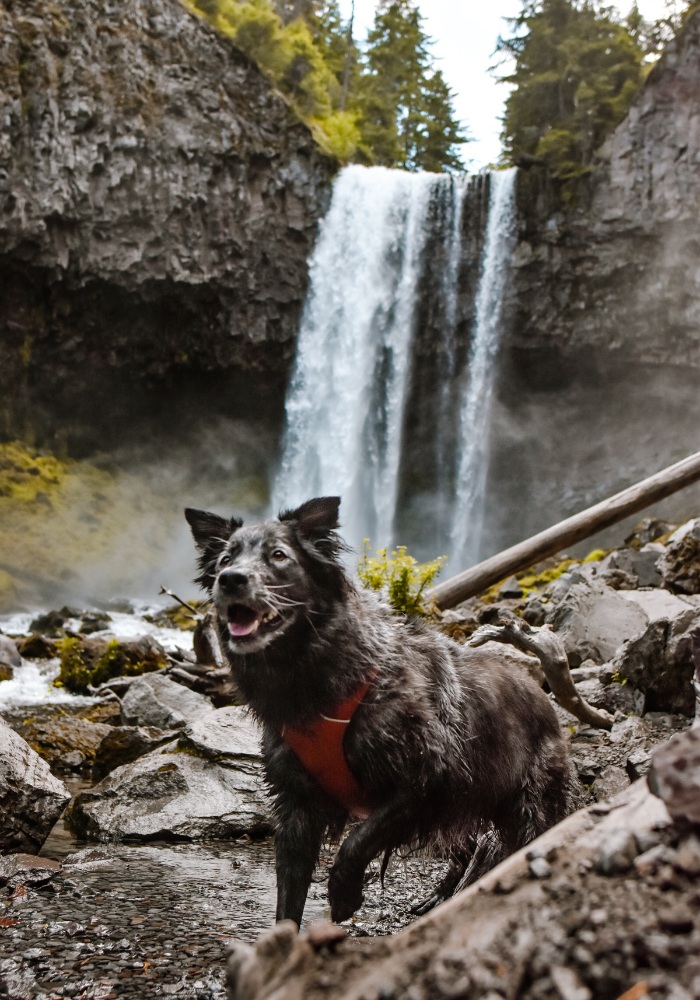
How to Hike to Tamanawas Falls With Your Dog
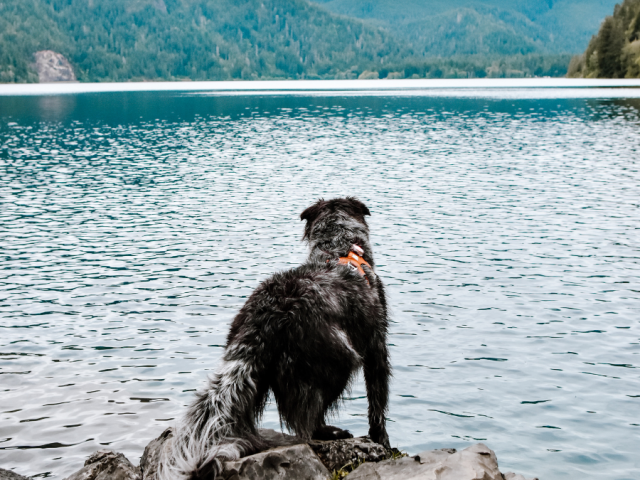
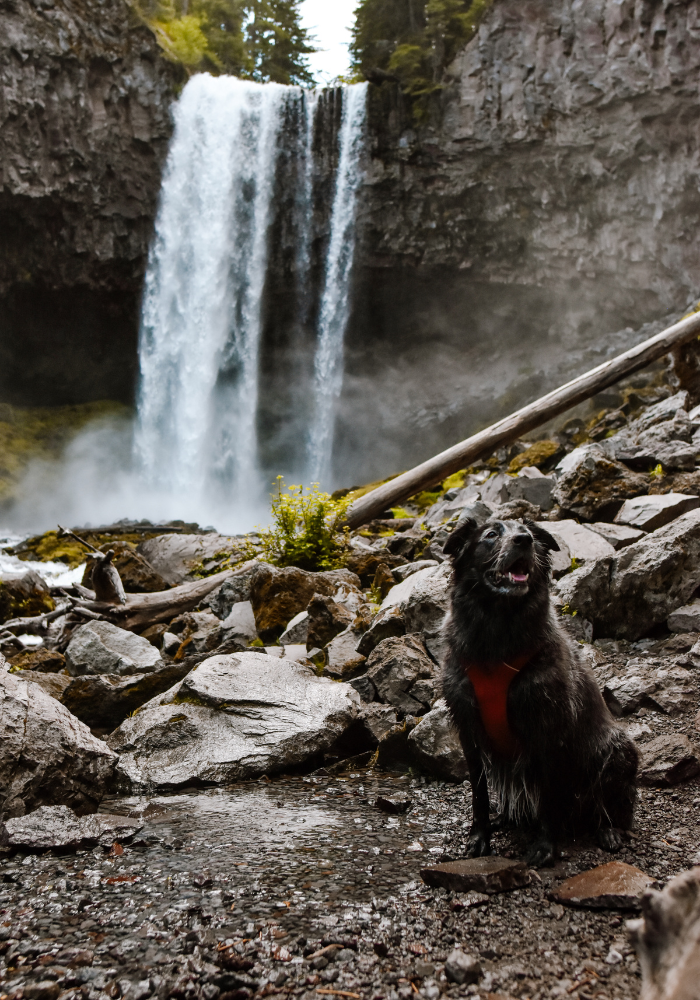
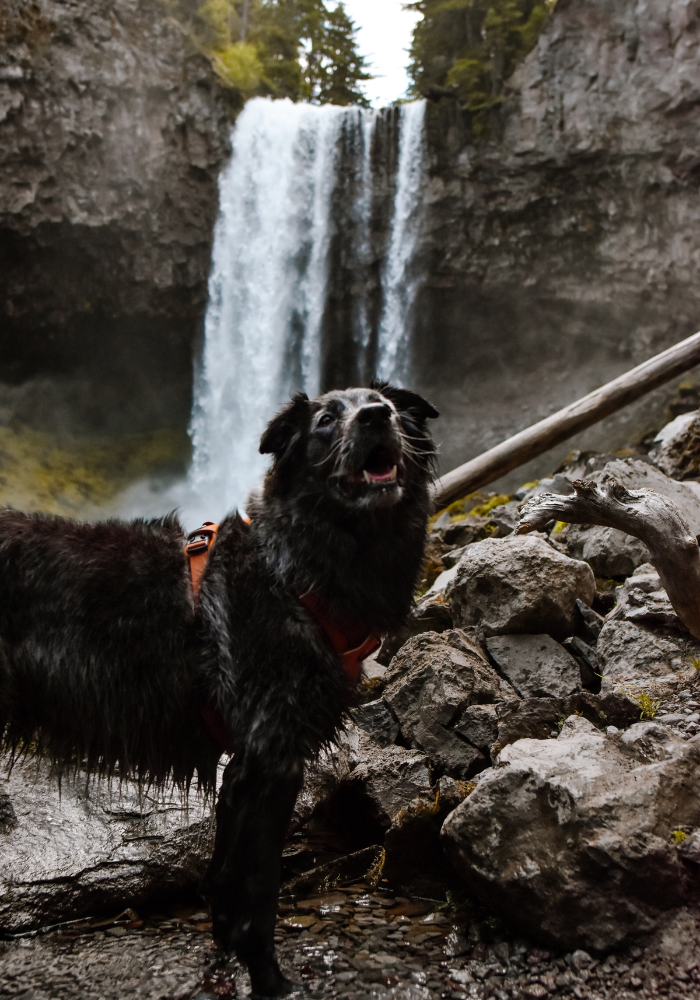
One of the main reasons we chose to hike to Tamanawas Falls (and one of our main reasons for living, if we’re being honest) is our dog, Tuna. In case the name wasn’t a dead giveaway, he LOVES water. And on this particular day in Oregon, temperatures reached 103 degrees Fahrenheit – hence why we waited until later in the day to start hiking.
Tuna had a blast on this hike and with all the shade and river access, he remained comfortable the entire time – despite the excessive heat. It was the perfect way to finish out a brutally hot day! If you’re planning to bring your pet along for the journey, here are some quick recommendations.
Consider your dogs abilities
Small dogs and older dogs might struggle on this hike. Especially the last 1/4 mile where there is a rock scramble. Tuna is like a little mountain goat and hopped up the rocks (a little TOO fast for our liking) but that might be difficult for dogs with joint pain / limited mobility or dogs that just aren’t big enough to make the leap.
Know that there are a few drop offs
Some dogs are wary of steep edges, and some aren’t. Of course, if you have your dog on a leash this lessens the possibility of a fall – but the other thing to consider is how strong your dog is. Tuna is definitely capable of pulling me forward when he’s in hunt mode. Thankfully he seems to have a healthy fear of heights!
The drop offs are NOT very extreme and there are only a few areas where this is a concern, but it’s worth mentioning!
Always check your dog post-hike for ticks and any paw pad injuries
You’ll want to spray your dog with tick spray prior to your hike, but it isn’t 100% effective. At the end of the day, have a 15 minute cuddle session with your dog and check him for ticks and injuries (particularly on his or her feet). Ticks could be anywhere on your dog’s body, and right after the hike they likely aren’t latched on yet so check thoroughly! When they do find a spot to feed though, the most common areas you’ll find them are:
- Paws & Between the Toes
- Ears – Inside and Out
- Armpits
- Face – particularly around the eyes and mouth, and sometimes even on the inside of the mouth! Ick.
Pack The Right Gear
- Leash. There is a 6 foot leash rule on this trail.
- Harness or collar with current tags and contact information. Always an essential in the event your dog breaks free and gets lost.
- Flea + Tick Spray. Almost the entire hike is through the forest, so make sure your dog is protected from fleas and ticks.
- Poop bags. Self explanatory.
- Towel. To dry your pup off before getting in the car
- Seat Cover. I can’t stop recommending this one from Ruffwear. It’s been on SO many adventures with us and is now a permanent fixture in our truck.
- Water Dish. If you don’t want your dog drinking from the river.
- Booties. Not an essential, but useful if your dog has sensitive paws.
- Small light. Again, not an essential but we like to attach the Ruffwear Beacon light to Tuna’s harness in the event he gets free. It is SUPER bright, like brighter than our headlamps, and has saved us on a few occasions.
Photography Tips
If you don’t feel like packing in heavy camera gear you can still get a cool “silky” waterfall photo using just your iPhone! Here’s how:
- Set your camera to “Live” mode
- Get into position and set up your photo
- Make sure you and whoever is in your photo (if anyone) hold very still. You can also set your phone on something stationary if you have shaky hands.
- Take the picture
- Open the photo
- Tap on the “Live” icon in the upper left corner and change it to “Long Exposure”
- Voila!
The biggest difference between using a DSLR or mirrorless camera vs. an iPhone is the quality. If you’re planning to upload your photos to social media, a phone will work fine. If you’d like to print out your photos or create photo books, I’d recommend an actual camera. There is only so much enlarging (and editing) you can do with an iPhone photo before it starts to look blurred and grainy.
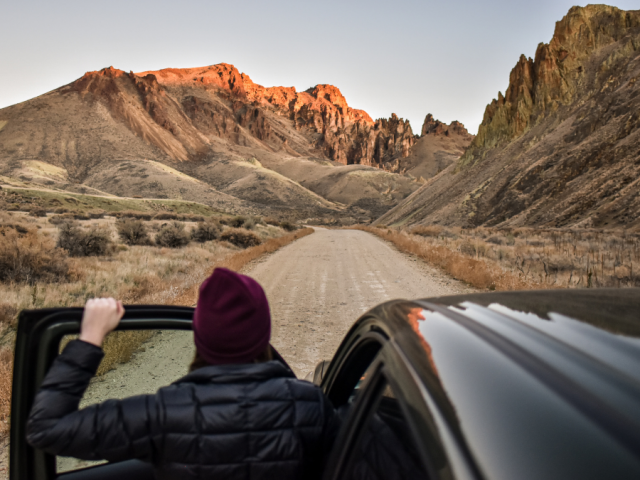
Traveling through Oregon?
CHECK OUT THESE MUST-SEE STOPS ON THE OREGON COAST
– OR –
EPIC CAVES NEAR BEND, OREGON
– OR –
DISCOVER THE BEST HIKING TRAILS ON THE OREGON COAST
– OR –
READ THE TRAIL GUIDE TO DRIFT CREEK FALLS (NEAR LINCOLN CITY, OREGON)
Pin it for later!